Graphics Programs Reference
In-Depth Information
Creating masks from Selections workflow:
1 Create some bold text in a new document with a white background layer.
2 Copy and paste a color image in a layer above the text.
3 Select the color layer and choose the Create Clipping Mask command from the Layers
menu.
BEFORE
AFTER
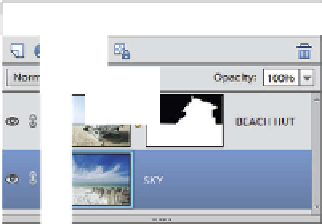
From version 9 of Elements it is possible to add a layer mask to any image layer. This
allows for the creation of sophisticated composite photos where the details of the
masked layer are hidden from view so that the details of the layer beneath can been
seen.
Advanced Masking Options
In Photoshop Elements before version 9, layer masks couldn't be created
by themselves. They could only be created as part of an adjustment or fill
layer. But from the version 9 release, Elements users have the ability to create layer masks
with any image layer.
Add Layer
Mask button
If you look closely at the top of the Layers panel you will see an extra button between the ex-
isting New Layer and New Adjustment Layer buttons. Clicking this Add Layer Mask button
will insert a new mask next to the thumbnail of the currently selected layer. By default, the
new mask is filled with white.
As we have already seen, white areas in a mask reveal the details of the layer it is associated
with, whereas black areas conceal the details of this layer (revealing the layer beneath).
Gray mask areas display a mix of both layers depending the density of the gray. A light gray
tone will show more of the upper layer, darker gray will reveal more details from the layer
beneath.
Layer masks can be created and edited in the same way as the other masks we have looked
to date. The mask can be produced from selections, added as a blank mask and then edited
with the painting tools.
With the extra functionality provided with dedicated layer masking comes a range of new
mask options available from either the Layer menu or from the pop-up menu that appears
when right-clicking the mask in the layers panel.


Search WWH ::

Custom Search