Graphics Programs Reference
In-Depth Information
To change the settings of the effect itself:
One of the great things about Adjustment
layers is that you can alter the settings used at any time by double-clicking on the Layer
Thumbnail (on the left) to display a dialog box complete with all the controls that you used
originally to make the change. Now as all Smart Brush Tool effects are based on masked
adjustment layers, to change the style of the effects, it should be possible to double-click on
the layer thumbnail and simply change the settings in the dialog that appears. For most
Smart Brush Tool adjustments this is true (check out the Lighting options) as they are built
upon Elements Adjustment Layers, but this is not always the case as some effects are based
on features that are only available in Photoshop itself. If you try to adjust these you will get a
warning notice saying that it is not possible to tweak the settings.
That said, for those entries based on Elements features, double-clicking the layer thumbnail
will display the feature's dialog allowing the user to fine-tune the effects applied. You can
also display the adjustment dialog, when you have the Smart Brush Tool selected by double-
clicking on the Smart Brush Tool icon on the photo. Single-clicking the icon reselects the
area originally isolated by the brush and makes the Smart Brush Tool layer active (in the
Layers palette).
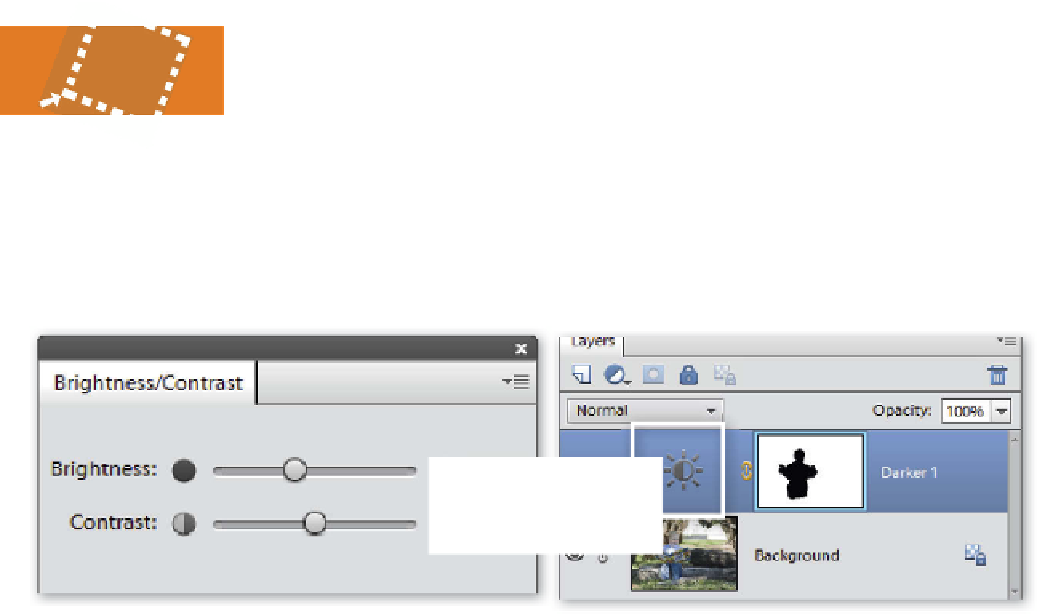
With some Smart Brush
Tool entries the actual
settings used for making
the image adjustments
can be edited. In this
example, the 'Darker'
preset was applied to
parts of the photo with
the Smart Brush Tool. A
new Smart Brush Tool
layer was added to the
Layers palette as a result.
By double-clicking on the
thumbnail on the left of
the entry, the Brightness/
Contrast dialog is
displayed. This is the
feature used to make the
changes you applied with
the brush. In the dialog
you can change the
settings used for the
adjustment. Clicking OK
will apply the changes to
your photo.
Adding multiple Smart Brush Tool adjustments
The 'paint on' nature of Smart Brush Tool adjustments
will mean that this feature will be one that you reach for
often when wanting to tweak specific parts of your photo.
This scenario will, undoubtedly, lead to you wanting
to apply more than one adjustment to a single image.
Thankfully, this is not a problem as each time you apply a
Smart Brush Tool adjustment a new layer is added to the
layer stack. This means that each change is independent
and can be hidden from view (turn off the 'eye' icon) or
tweaked (Opacity and Blend Mode). Along with the new
layer entries, Elements also places new icons on the photo
for each additional Smart Brush Tool adjustment. These
are colored different hues so that you can distinguish
them from each other.
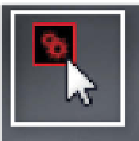
To reselec t the adjustment area marked
out by the Smart Brush Tool, when you
have the tool selected, single-click the
icon on the photo. Double-clicking will
open the associated adjustment dialog
as long as it is an Elements feature.


Search WWH ::

Custom Search