Graphics Programs Reference
In-Depth Information
#
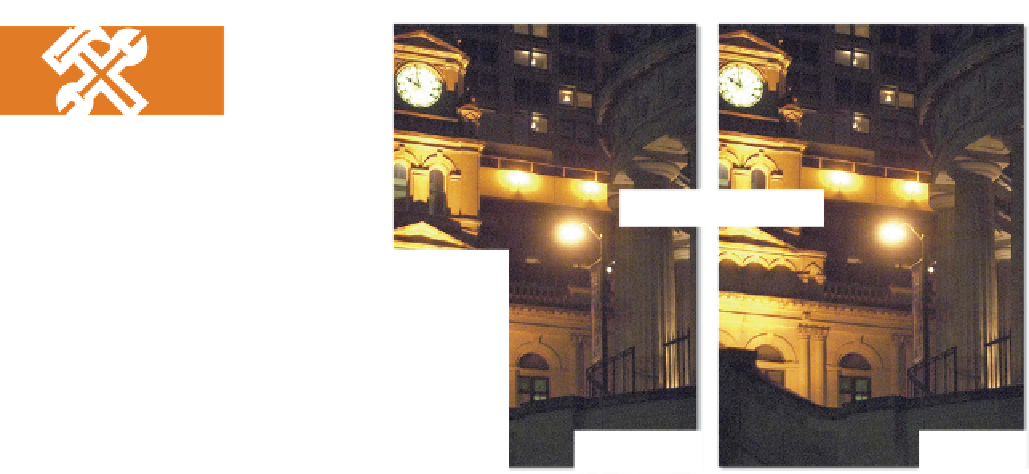
BEFORE
AFTER
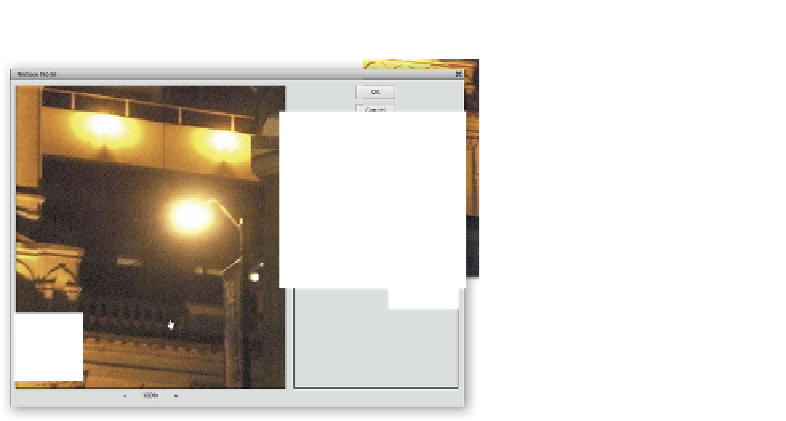
2
1
The Reduce Noise filter is
great for making pictures
taken when your camera
is set on a high ISO value
less noisy.
(1) Preview.
(2) Noise Reduction con-
trols.
Editor: Filter > Noise > Reduce Noise
Many new digital cameras have a variety of ISO settings to choose from. When shooting in
sunny or bright conditions you generally use values of 100 or 200, giving sharp and noise-
free results, but when you select a higher value such as 1600 for use at night, or in low light,
the resultant pictures can become very noisy. Camera manufacturers often include Noise
Reduction features as part of the camera functions but sometimes the length of time the
camera takes to process the file means that it is almost impossible to take a series of night-
time pictures rapidly. If this is your requirement then you are stuck with grainy photo-
graphs because you have had to shoot with the Noise Reduction feature turned off.
With just this sort of problem in mind, the Adobe engineers included the Noise Reduction fil-
ter (Filter > Noise > Reduce Noise). The feature includes a preview window, a Strength slid-
er, a Preserve Details control and a Reduce Color Noise slider. As with the Dust & Scratches
filter you need to be careful when using this filter to ensure that you balance removing noise
whilst also retaining detail.
The best way to guarantee this is to set your Strength setting first, ensuring that you check
the results in highlights, midtone and shadow areas. Next, gradually increase the Preserve
Details value until you reach the point where the level of noise that is being reintroduced
into the picture is noticeable and then back off the control slightly (make the setting a lower
number). For photographs with a high level of color noise (random speckles of color in an
area that should be a smooth flat tone) you will need to adjust this slider at the same time as
you are playing with the Strength control.


Search WWH ::

Custom Search