Graphics Programs Reference
In-Depth Information
Healing Brush tool
The Clone Stamp tool is good, but the best way to remove unwanted detail from your pictures is
with the amazing Healing Brush tool. Designed to work in a similar way to the Clone Stamp tool,
the user selects the area (Alt/Opt-click) to be sampled before painting and then proceeds to drag
the brush tip over the area to be repaired. The tool achieves such great results by merging back-
ground and source area details as you paint. Just as with the Clone Stamp tool, the size and edge
hardness of the current brush determine the characteristics of the Healing Brush tool tip.
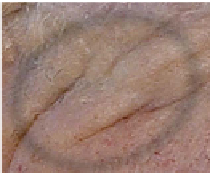
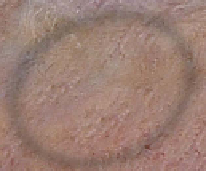
One of the best ways to demonstrate the sheer power of the Healing Brush is to remove the
wrinkles from an aged face. Although I'm not sure of the ethics of such an action it is a
request that is often put to me. In this example, the deep crevices of the fisherman's face have
been easily removed with the tool. The texture, color and tone of the face remain even after
the 'healing' work is completed because the tool merges the new areas with the detail of the
picture beneath.
Step-by-step Healing Brush application:
1
2
3
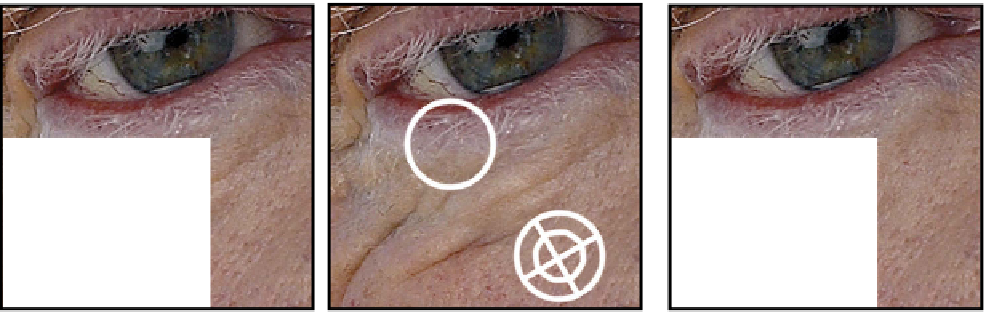
Locate the areas to be healed.
Alt/Opt-click the source that you will use in
the repairs.
Drag the brush tip over the area to be
repaired.
PRO'S TIP
Healing Brush workflow:
1 The first step is to locate the areas of the image that need to be retouched.
2 Hold down the Alt key and click on the area that will be used as a sample for the
brush. Notice that the cursor changes to cross hairs to indicate the sample area.
3 Move the cursor to the area to heal and click and drag the mouse to 'paint' over
the problem picture part. After you release the mouse button Elements merges
the newly painted section with the image beneath.
You can remove wrin-
kles on a duplicate lay-
er and then fade the
opacity of this layer to
create a more natural
appearance, where
wrinkles are softened
and not completely
removed.


Search WWH ::

Custom Search