Graphics Programs Reference
In-Depth Information
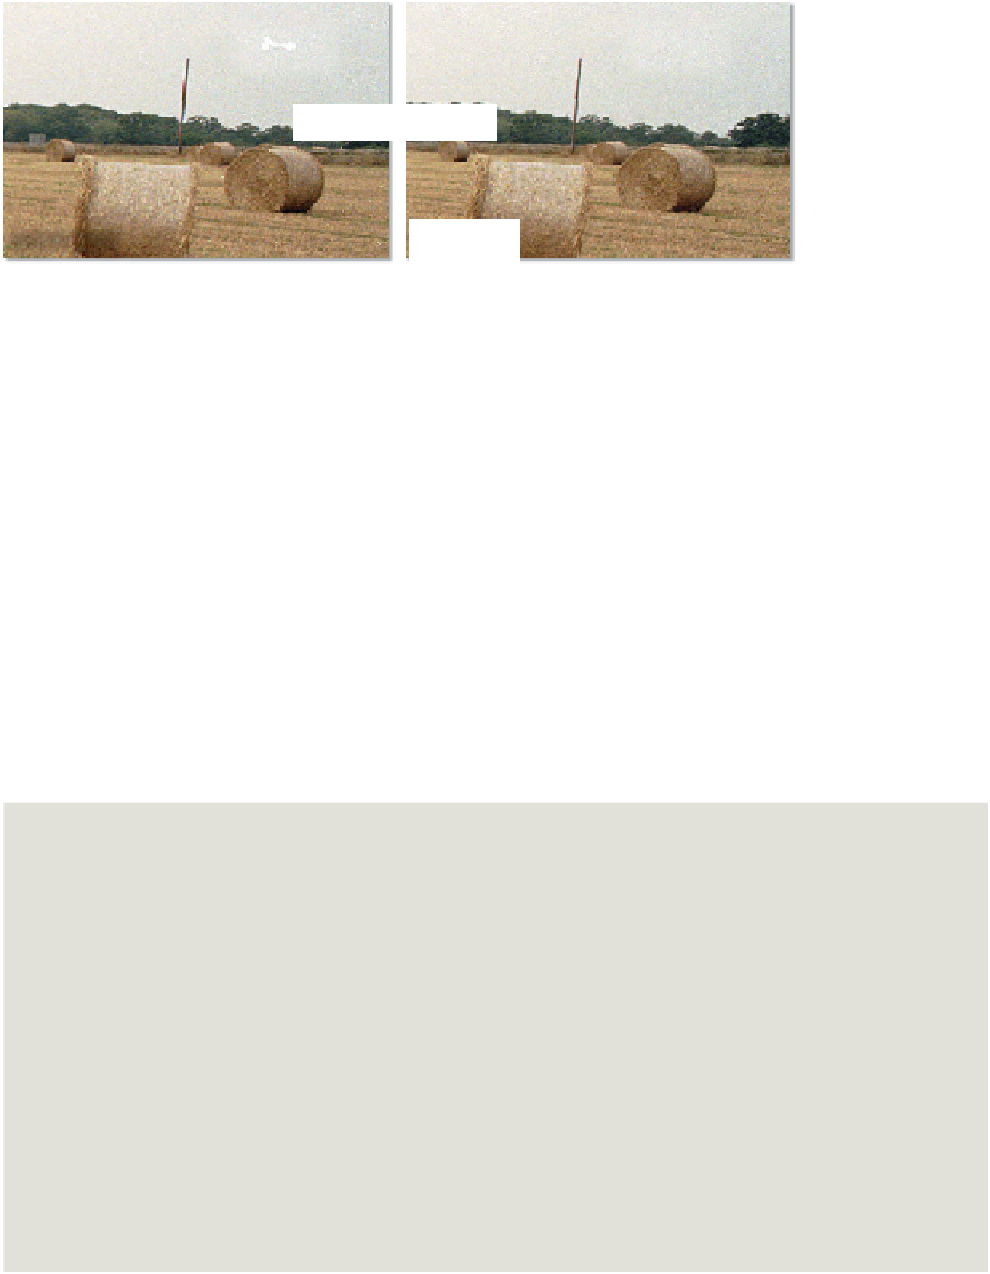
The Clone Stamp tool is
perfect for retouching the
marks that the Dust &
Scratches filter cannot
erase.
BEFORE
AFTER
Clone Stamp
In some instances the values needed for the Dust & Scratches filter to erase or disguise
picture faults are so high that it makes the whole image too blurry for use. In these cases it
is better to use a tool that works with the problem area specifically rather than the whole
picture surface.
The Clone Stamp tool samples an area of the image and then paints with the texture, color
and tone of this copy onto another part of the picture. This process makes it a great tool to
use for removing scratches or repairing tears or creases in a photograph. Backgrounds can
be sampled and then painted over dust or scratch marks, and whole areas of a picture can be
rebuilt or reconstructed using the information contained in other parts of the image.
Using the Clone Stamp tool is a two-part process. The first step is to select the area that you
are going to use as a sample by Alt/Opt-clicking the area. Now move the cursor to where
you want to paint, and click and drag to start the process.
The size and style of the sampled area are based on the current brush and the Opacity set-
ting controls the transparency of the painted section.
Clone Stamp workflow:
1 Pick the Clone Stamp tool from
the toolbox.
2 Adjust the brush size via the
Brush palette in the options bar.
3 Set the opacity for the painted
area.
4 Position the mouse cursor on a
part of the image you want to
sample and Alt/Opt-click.
5 Move the tool to the area of
the image you want to use the
sample to cover and click and
drag to paint.
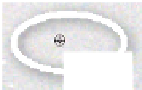
1
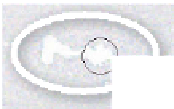
2
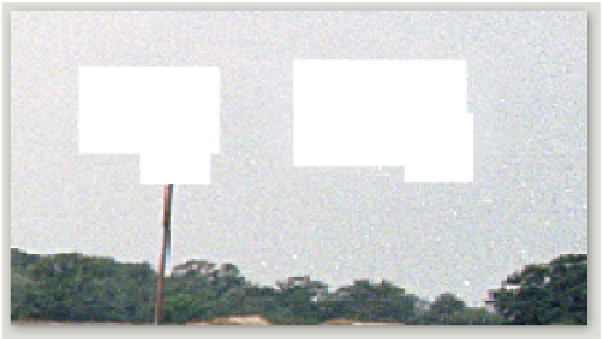
Alt/Opt-click to mark the area to be sampled. Move the cursor over the mark
and click to paint over with the sampled texture. (1) Sample point. (2) Retouch-
ing area.


Search WWH ::

Custom Search