Graphics Programs Reference
In-Depth Information
#
Hardware-based monitor calibration
EXPERT
The profile that is included with your screen driver is based on the average characteristics of
all the screens produced by the manufacturer. Individual screens will display slightly different
characteristics even if they are from the same manufacturer and are the same
model number. Add to this the fact that screens' display characteristics change
as they age and you will start to see why some photographers who are inter-
ested in ensuring that their photos are displayed accurately on screen resort to
using a hardware calibration solution such as the ones provided by X-RITE or
ColorVision.
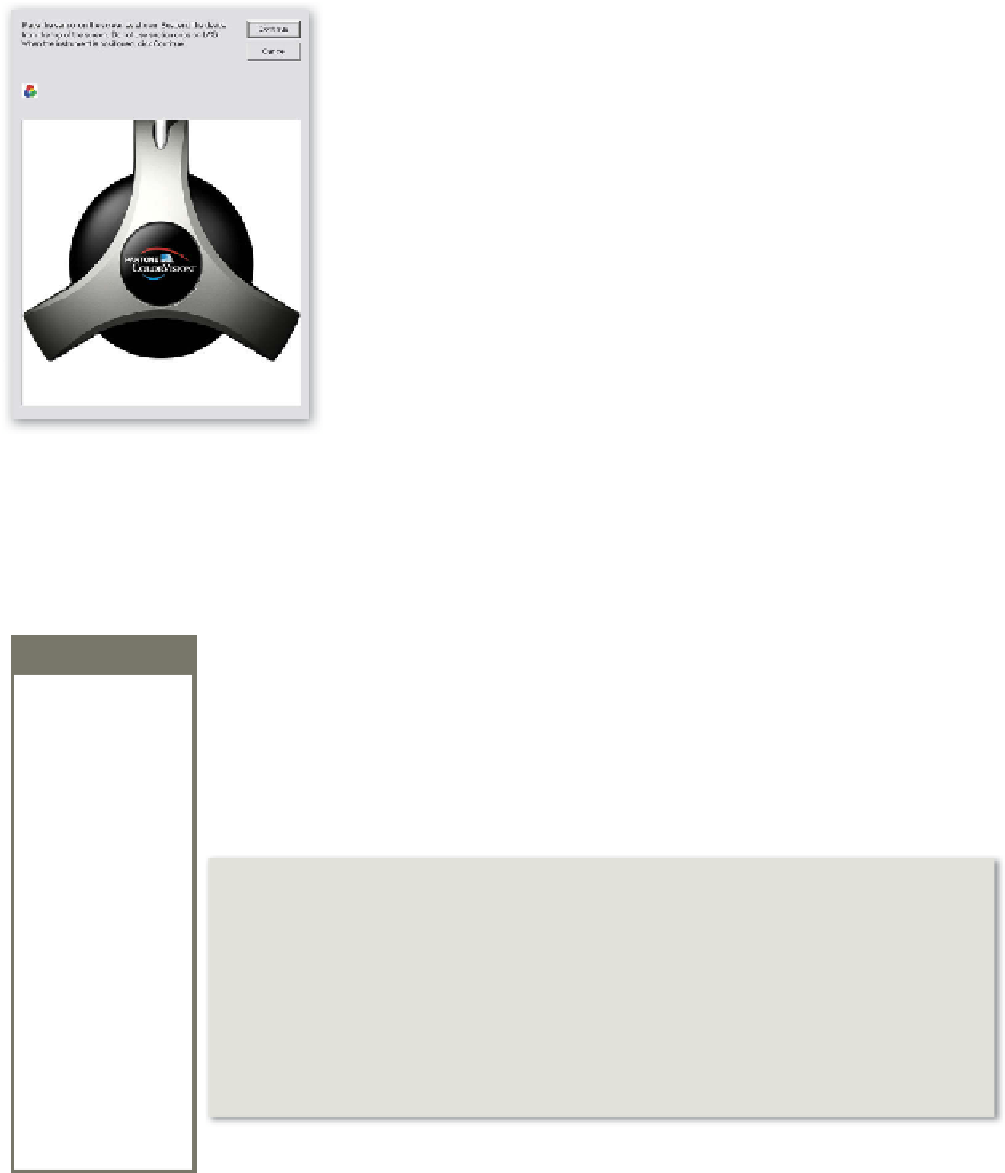
The ColorVision option uses a seven-filter colorimeter attached to the screen
during the calibration process. This piece of hardware samples a range of
known color and tone values that the software displays on screen. The
sampled results are then compared to the known color values, the difference
calculated and this information is then used to generate an accurate ICC
profile for the screen. Unlike when using the supplied profile, this method does
require the purchase of extra software and hardware, but it does provides an
objective way for the digital photographer to calibrate his or her screen.
For more accurate displays
of your photos, calibrate
your monitor with a hard-
ware device such as the
Spyder.
Calibrate all screens and use color management wherever possible
Keep in mind that for the color management to truly work, all your friends or colleagues
who will be using your images must calibrate their systems as well.
PRO'S TIPS
From version 4.0 of Photoshop Elements, Adobe revamped the color management system to
make it easier to understand and more logical to use. There are now four options to choose
from in the Edit > Color Settings dialog. To ensure that Elements is operating with a color-
managed workflow think about how you would normally view your work and then choose
between Screen Optimized and Print Optimized options. If you need image-by-image control
over what profile is used then select the Allow Me to Choose setting.
Before you start...
1. Set the screen to 24-
bit color and a resolu-
tion of at least 640 x
480 pixels or greater
and ensure that the
screen has warmed up
for at least 30 minutes.
2. Make sure that you
know how to change
the color, contrast and
brightness settings of
your monitor. This may
be via dials or on-screen
menus.
3. Ensure that no light
source is shining on the
screen during the cali-
bration process.
4. Once the calibration
process has started,
don't move the on-
screen calibration win-
dow.
Color Management options:
No Color Management -
This option leaves your image untagged, deletes attached profiles when
opening images and doesn't add a profile when saving.
Always Optimize Colors for Computer Screens -
Attaches sRGB to photos without a profile and
uses sRGB as the working space but maintains any attached profiles when opening images.
Always Optimize for Printing -
Attaches AdobeRGB to photos without a profile and uses
AdobeRGB as the working space but maintains any attached profiles when opening images.
Allow Me to Choose -
Maintains all attached profiles but allows the user to choose between sRGB
and AdobeRGB when opening untagged files (Editor workspace only).


Search WWH ::

Custom Search