Graphics Programs Reference
In-Depth Information
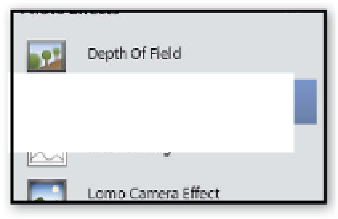
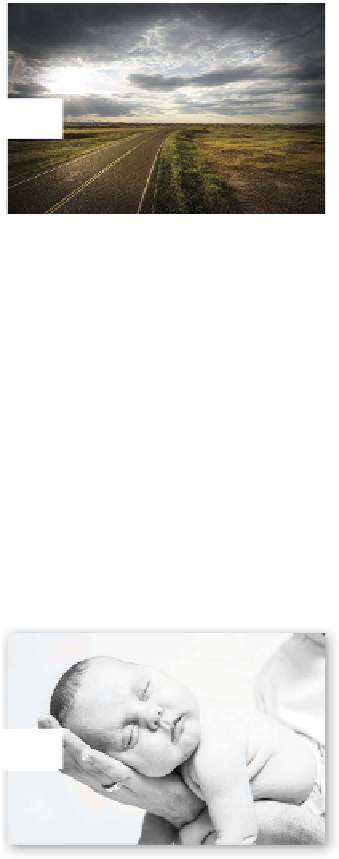
Adding darkened or lightened edges
to a photo has been a long tradition
with photographers and dates back
to the days when pictures were made
in darkroom. This process is called
adding a Vignette and in this version
of Elements it is introduced as a new
entry in the Photo Effects section of
the Guided Edit panel.
BEFORE
AFTER
Photo Effects > Vignette Effect
1
2
3
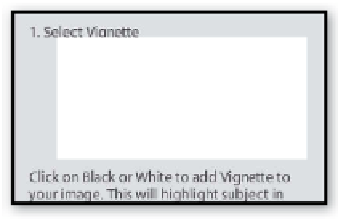
Choose the Vignette entry from those listed
under the Photo Effects heading. Pick the
Before and After option from the View sec-
tion (top lef t) of the Guided Edit workspace.
Choose to apply a dark or light vignette and
then use the Intensity slider to change the
strength of the effect.
Click Refine Shape button to display a dialog
with Feather and Roundness sliders. Move
the Feather control to change the softness
of the vignette edge and the Roundness
slider to alter its shape.
A High Key portrait retains all of
the key details of the subject but pre-
sents them with predominantly light
tones. Traditionally careful expo-
sure and image-processing is needed
to create such a stylized portrait,
but in Elements 11 you can produce
similar results with the High Key
Guided Edit entry. There is even the
ability to soften the final result by
filtering with Diffuse Glow.
BEFORE
AFTER
Photo Effects > High Key
1
2
3
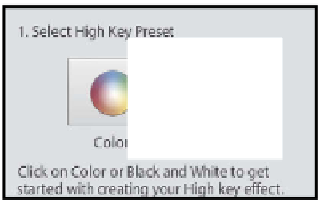
Choose the High Key entry from those listed
under the Photo Effects heading. Pick the
Before and After option from the View sec-
tion (top lef t) of the Guided Edit workspace.
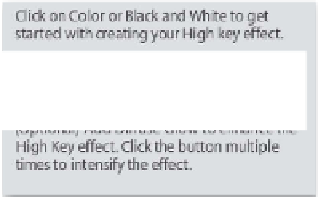
Start by picking the style of effect by clicking
the Color or B&W button. As there is no way
to alter the strength of High Key effect dur-
ing the process, you may need to darken your
starting image a little first.
If your aim is a soft and dreamy result then
as a finishing touch you can add a diffuse
glow to the High Key conversion.


Search WWH ::

Custom Search