Graphics Programs Reference
In-Depth Information
B
1
2
The extra space afforded by DVD
and BluRay disks when compared
to the humble CD makes these
media the best choice when storing
large numbers of photos or video
files. Photoshop Elements passes
the tricky task of burning these for-
mats to its sister program Premiere
Elements. It has all the disk writing
tools you need to complete the
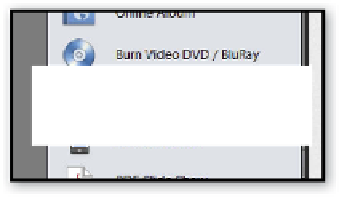
task. Clicking the Burn Video DVD/
BluRay option in the Share panel
transfers your files to Premiere Ele-
ments to finish the process.
Start by selecting the videos to be burnt to
disk in the Organizer workspace. To only dis-
play video files in the Organizer select just
this media type from those listed in the View
> Media Types menu. Next pick the Burn
Video DVD/BluRay from the Share panel.
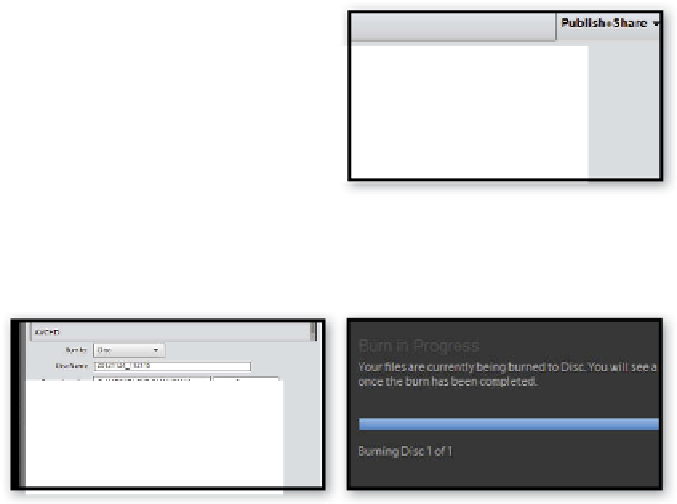
Premiere Elements now opens with the se-
lected video files added to the timeline and
the Publish + Share menu displayed on the
right of the workspace. Select the output
option (e.g. Disk) from those listed in the
panel.
3
4
Choose from the other settings in the next
screen. In the Quality area choose between
allowing Elements to pick the best quality
for the disk space available (Fit Contents To
Available Space) and manually setting the
bit rate with the slider control.
Clicking the Burn button at the bottom of
the panel will start the writing process. This
can take some time depending on the num-
ber of videos and their length. A confirma-
tion message is displayed in the panel when
completed and the disk drive door opens.
Photoshop Elements also borrows
features from its sister program
Premiere Elements when it comes
to sharing videos online. With the
Organizer workspace now common
to both Elements programs many
photographers are managing their
video and still files together in the
workspace. It makes sense then to
have an online sharing option dedi-
cated to the moving image avail-
able in Organizer's Share pane.
1
2
Select the video files within the Organizer
workspace and then click the Online Video
Sharing option located in the Share panel.
The file(s) will be transferred to the Premiere
Elements workspace where a new project
will be created. Add the project details and
click Okay to proceed.
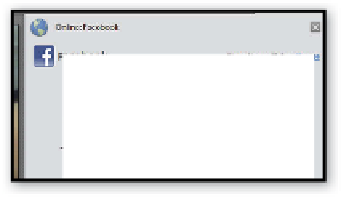
The Online section of the Publish + Share
menu is then displayed in the Premiere Ele-
ments workspace. Choose the sharing site
that you want to use (Facebook, Vimeo, You-
Tube) and then pick a preset option from the
drop-down menu. The presets provide a
great way to ensure the video is optimized
properly for the sharing service. Click Next
to continue.
3
4
Add in the necessary naming and description
details required by the sharing service and
click Next.
Determine the sharing characteristics be-
tween private and public. Click Share to start
the optimization and upload process.


Search WWH ::

Custom Search