Graphics Programs Reference
In-Depth Information
The Slide Show utility in Elements is capable of pro-
ducing very sophisticated multimedia presentations.
Gone is the simple menu-based wizard that Elements
featured in earlier versions of the product. Now, using
a single Slide Show editor, you create and arrange
slide shows, add music, text, graphics and narration
then finally produce the show in one of a range of
formats.
1
2
3
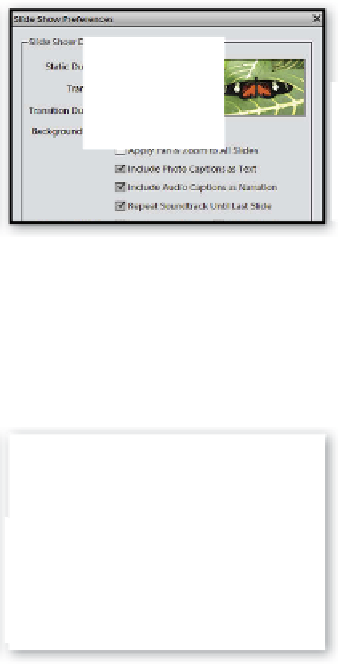
Start creating your slide show by selecting
the photos that you wish to include from the
thumbnails displayed in the Organizer
workspace. To select a group of pictures click
on the first thumbnail and then hold down
the Shift key whilst selecting the last photo.
To pick individual images Ctrl-click on the
thumbnails.
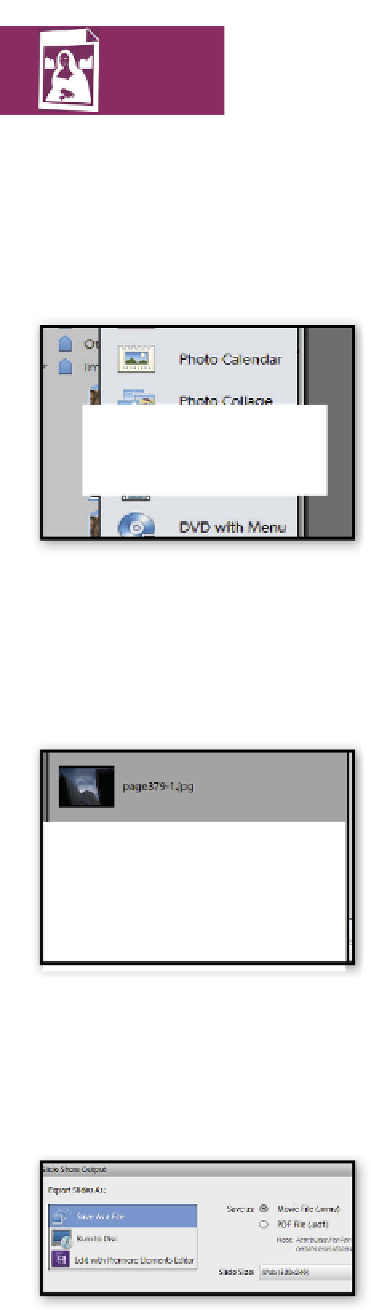
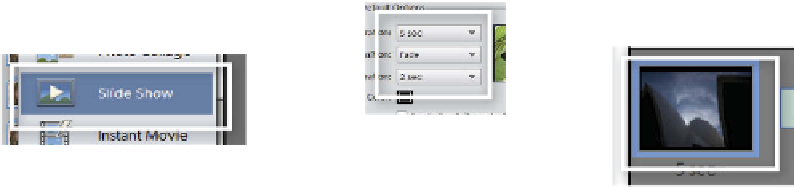
With the pictures selected, choose the Slide
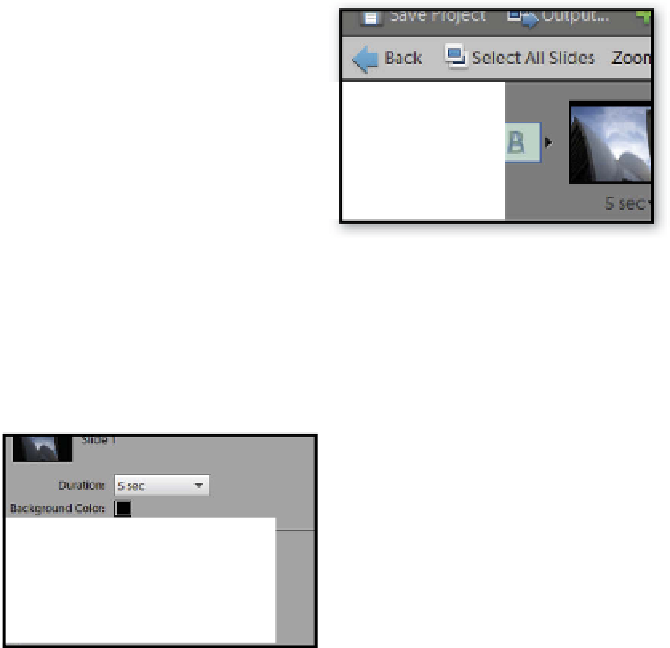
Show option from the Create task pane. This
action will display the Slide Show Preferences
dialog. Using the controls here set the
general slide duration, transition, transition
duration, background color, cropping and
caption options that will be used for the
whole show. There are also options for
adding a sound track and the quality of the
video preview in the Editor space.
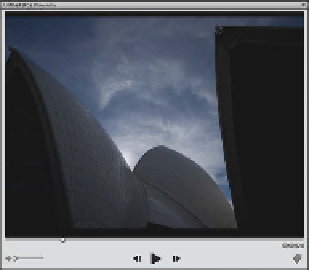
The Slide Show editor is displayed after
clicking OK at the Preferences dialog. Adjust
the sequence of the photos in the
presentation by switching to the Quick
Reorder screen (View > Quick Reorder). Click
and drag photos to a new position to change
their place in the show's sequence. When
finished choose View > Quick Reorder to
change back to the Slide Show editor view.
4
5
6
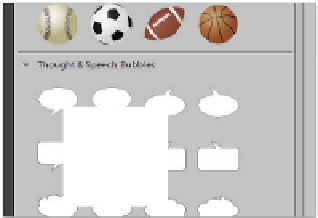
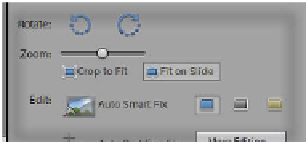
To make basic (automatic) editing changes
to the slides in the presentation, click on the
preview picture (large) and then adjust the
settings in the Properties pane. Here you can
rotate, adjust picture size, alter cropping and
apply Auto Smart Fix and Auto Red Eye Fixes.
There are also three quick Photo Effect
buttons that convert the slide to black and
white, sepia and back to color.
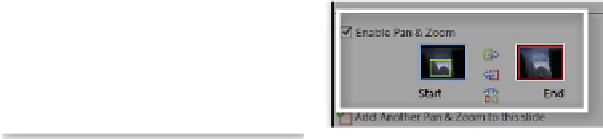
Along with the basic transition effects there
is also the ability to animate the pictures in
the presentation. This effect is created with
the Pan and Zoom controls, which are
displayed in the Properties pane when the
slide thumbnail is selected in the time line.
Click the check box to enable the feature and
then set the Start (Green) and End (Red)
marquees on the slide preview.
In addition the Editor allows you to add
graphics, text and narration to your show.
Simply select the heading in the Extras pane
and then drag and drop the text or graphics
onto the slide and adjust size and color or
effects using the options in the Properties
pane. Select the Narration option to record
any comments to be added to the slide.
7
To add a music track to the show, click the music bar below the time line and browse for the
file to include. The transitions added to all slides can be changed or customized by clicking
on the 'A-B box' between slides in the time line and altering the settings in the Properties
pane. Once you are happy with the presentation design save the show (File > Save Slide Show
Project) before outputting (File > Output Slide Show) the presentation in one of the formats
listed in the Output dialog.


Search WWH ::

Custom Search