Graphics Programs Reference
In-Depth Information
1
2
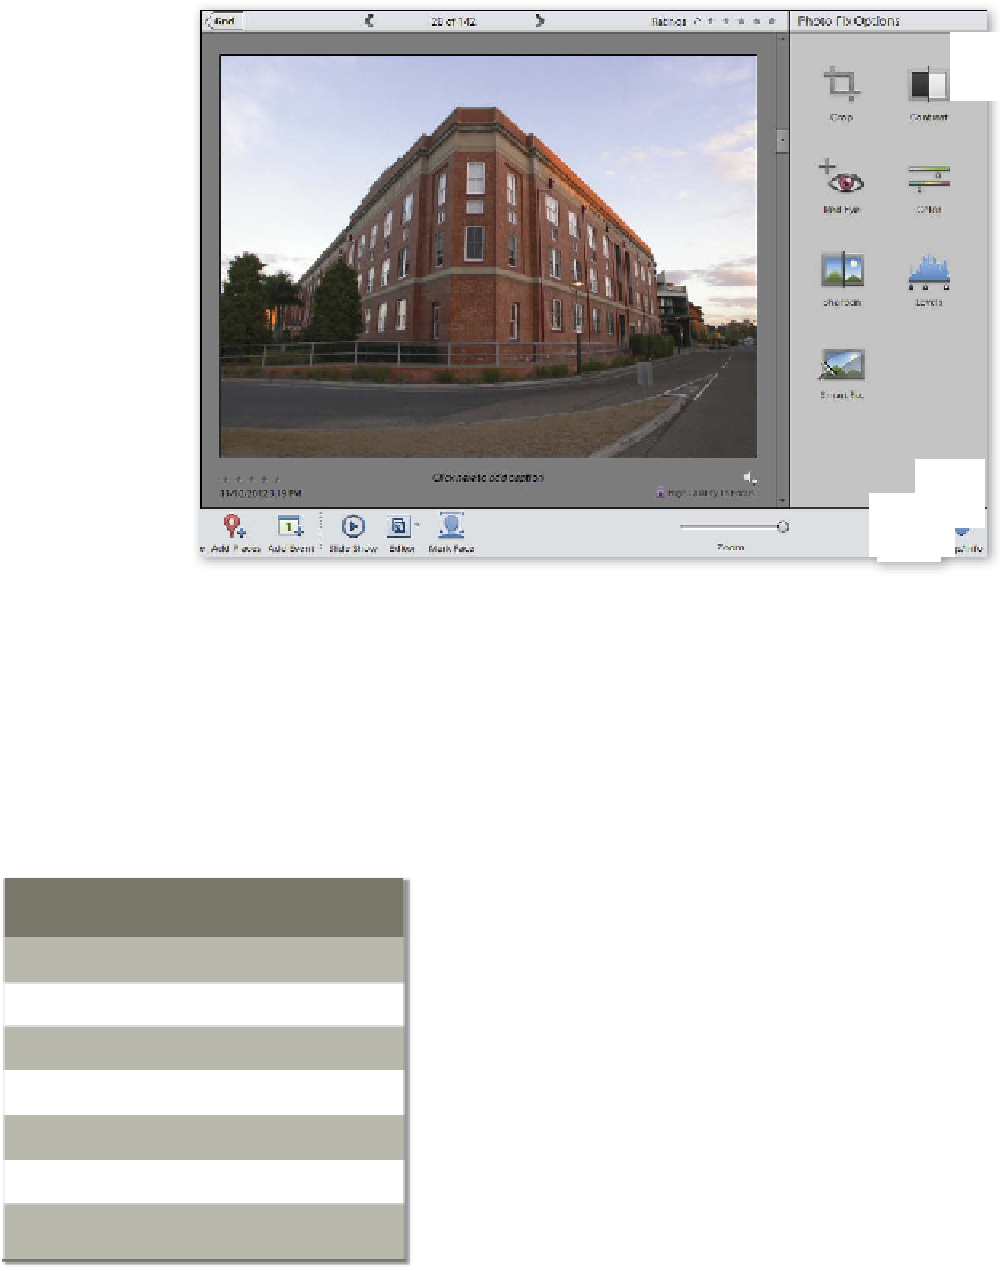
Automatic editing options, which are sometimes called are Photo Fix Options, are grouped in the Instant Fix
pane on the right of the Organizer workspace (1). If the Tags and Information panel is displayed instead, just
click on the Instant Fix button at the bottom right of the pane area (2) to show the Instant Fix options.
In the last couple of revisions of Photoshop Elements, some of the auto editing options that
were previously only available in the Enhance menu of the Edit workspace, have been added
to the Instant Fix pane in the Organizer. From version 9, Mac users can also take advantage
of these fast enhance options.
If the Instant Fix pane is not being displayed on the right side of
the Organizer workspace then click the Instant Fix button on
the Actions Bar at the bottom of the workspace.
Quick guide to the Fix panel's
auto enhance features
Correction needed
Feature to use
The Smart Fix option enhances several different image charac-
teristics in the one action, whereas features like Levels, Contrast,
Sharpen, and Color concentrate on adjusting just one aspect of
the photo, providing more specific and controllable changes to
your photo.
Low contrast problem
Contrast or Smart Fix
High contrast problem
Contrast or Smart Fix
Color, Levels or
Smart Fix
Color cast problem
Color cast and contrast problem
Levels or Smart Fix
When working with single-click adjustments such as these, keep
in mind that sometimes such automatic fixes do not produce the
results that you expect. In these scenarios use the Undo (Edit >
Undo or Ctrl+Z) command to reverse the changes and try one of
the manual correction tools detailed in the Editor workspace.
Sharpness or clarity problem
Sharpen
Red Eye
(yep, you guessed it!)
Red Eye


Search WWH ::

Custom Search