Hardware Reference
In-Depth Information
paint dried, I mixed a little more black with the grey I had made for the irst half, masked the
join and painted the other side - and again removed the tape while the paint was still wet. his
produced a very pleasing efect, and the colours show up well against a grey background.
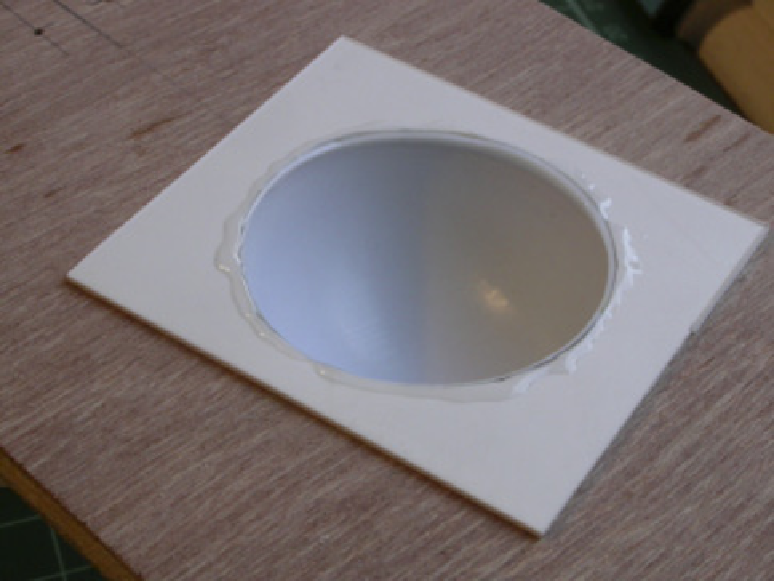
Figure 8-11:
he ball and
supporting base
resting on the
underside of the
box's lid.
It's time to put it all together! Figure 8-12 shows the view with the lid of.
Mount the LED board in the center of the base with either two screws as shown here or a spot of
glue. You can glue the difuser table tennis board and its sheet through the hole in the lid. he
wires from the switches can go to the LED board as well. (hey are kept tidy by small spots of hot
melt glue.) Finally, make the connections out to the PiFace board using a length of 10-way lat
ribbon cable. Just cut a slot in the top of a side piece to allow the cable to sit just under the lid
when it is screwed on. he ribbon cable has a red stripe on one wire that is useful as a marker. It
doesn't matter what order the wires are in as long as you know what wire to connect to what
terminal on the PiFace module. I used the sequence shown in Figure 8-13. As the two switches
are around the other side of the board, I extended those two wires by soldering an extra length
on and putting some heat shrink sleeving over the joint to insulate it. You can make the sleeving
shrink by applying a hot hair dryer to it. he inished unit is shown in Figure 8-14.