Graphics Programs Reference
In-Depth Information
Step 14: Animate the sky layer
Turn on the
sky
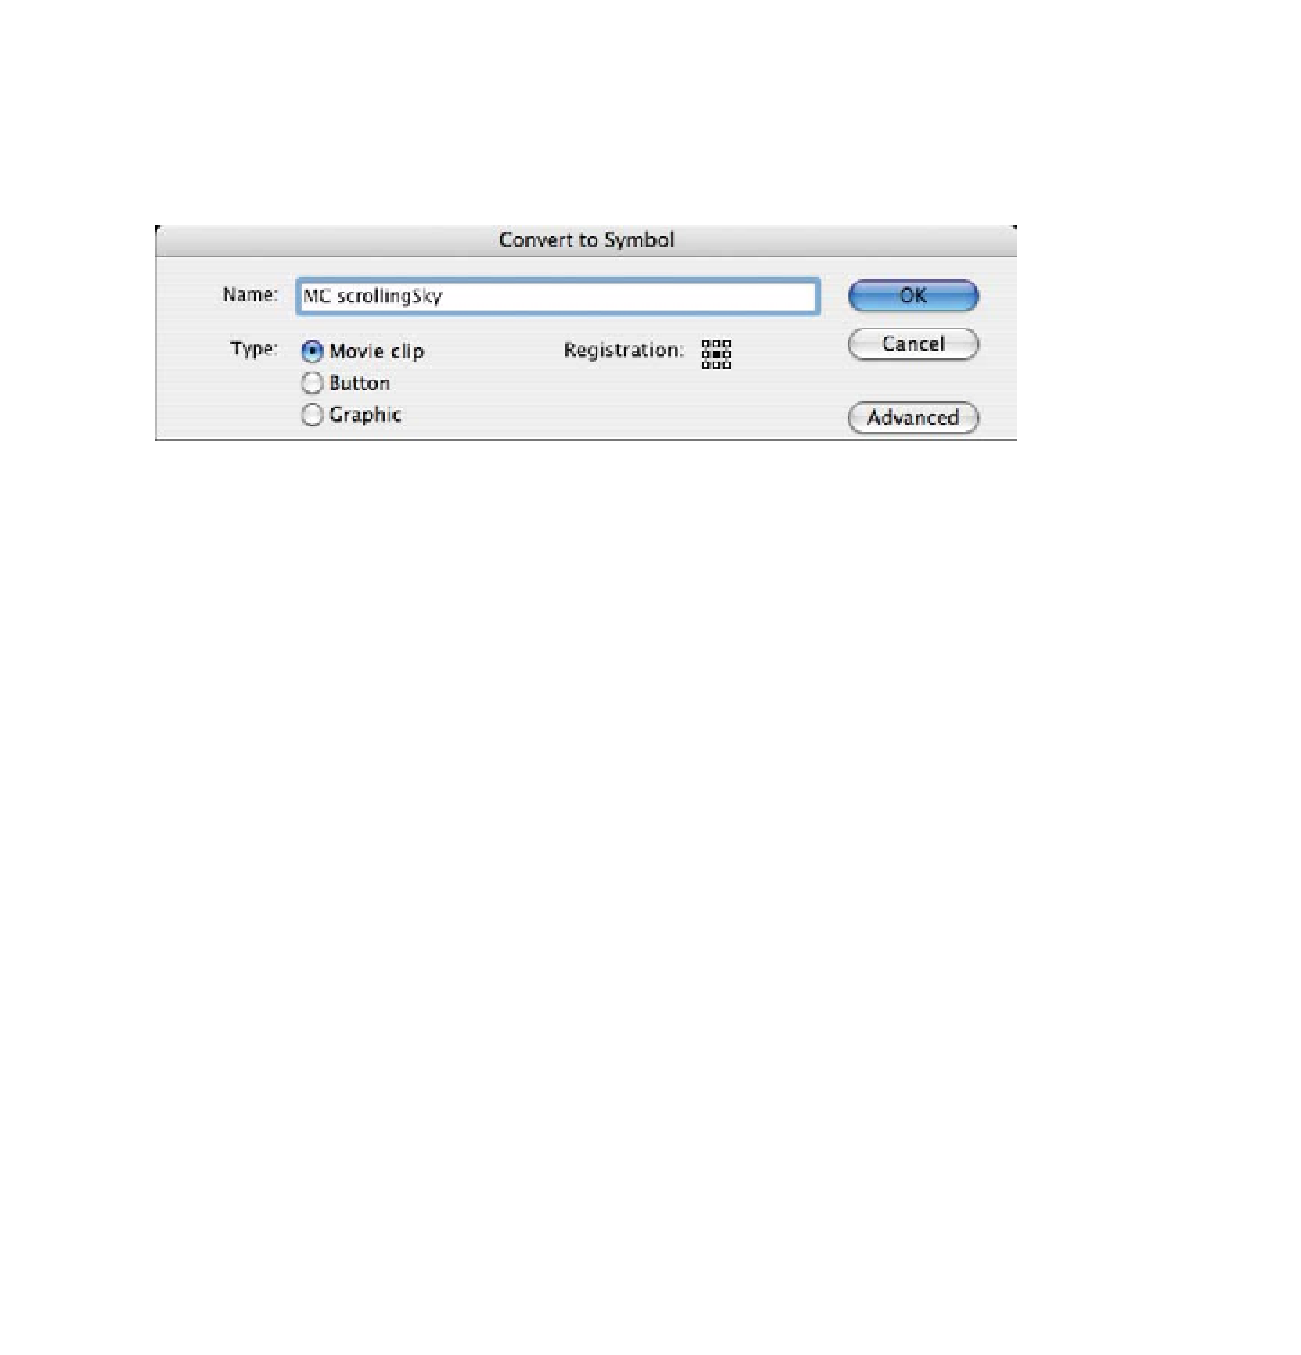
layer's content. Select the graphic symbol on the Stage and convert it
to a movie clip (Modify > Convert to Symbol). Name it
MC scrollingSky
and make sure
the type is set to “Movie clip” (Figure 3.28).
Figure 3.28
Converting a symbol to a movie clip
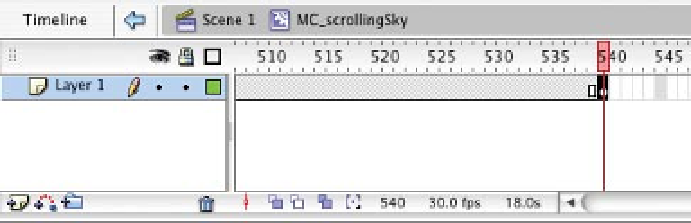
Double-click on the sky image to open the movie clip's Timeline. In the Timeline, click
on the empty cell at frame 540. Choose Insert > Timeline > Keyframe (Figure 3.29).
Go to the Stage and click and drag the sky image to the left. Drag it until the right edge
of the graphic aligns with the right edge of the Stage.
Figure 3.29
Creating a keyframe at frame 540
Go to the Timeline and select the first keyframe on frame 1. In the Properties palette,
click on the Tween drop-down menu and select Motion. To correct the slight pause in
the motion, select frame 539 and insert a keyframe to record the image's position.
Select the keyframe in frame 540. Choose Edit > Timeline > Remove Frames.
Save and test your movie. You should now have all the layers animating at different
speeds, completing the parallax scroll effect. The last thing needed is a character in
the foreground to give the movement meaning and purpose.
Search WWH ::

Custom Search