Graphics Programs Reference
In-Depth Information
Step 3: Insert a new keyframe
Go to the Timeline and select the empty cell at frame 60. Choose Insert > Timeline >
Keyframe. A new keyframe will appear at frame 60 (Figure 3.7). Select the
background
layer and click on the empty cell at frame 60. Choose Insert > Timeline > Frame. This
extends the background image to remain on the same number of frames as the boy.
Figure 3.7
Inserting a new keyframe at frame 60
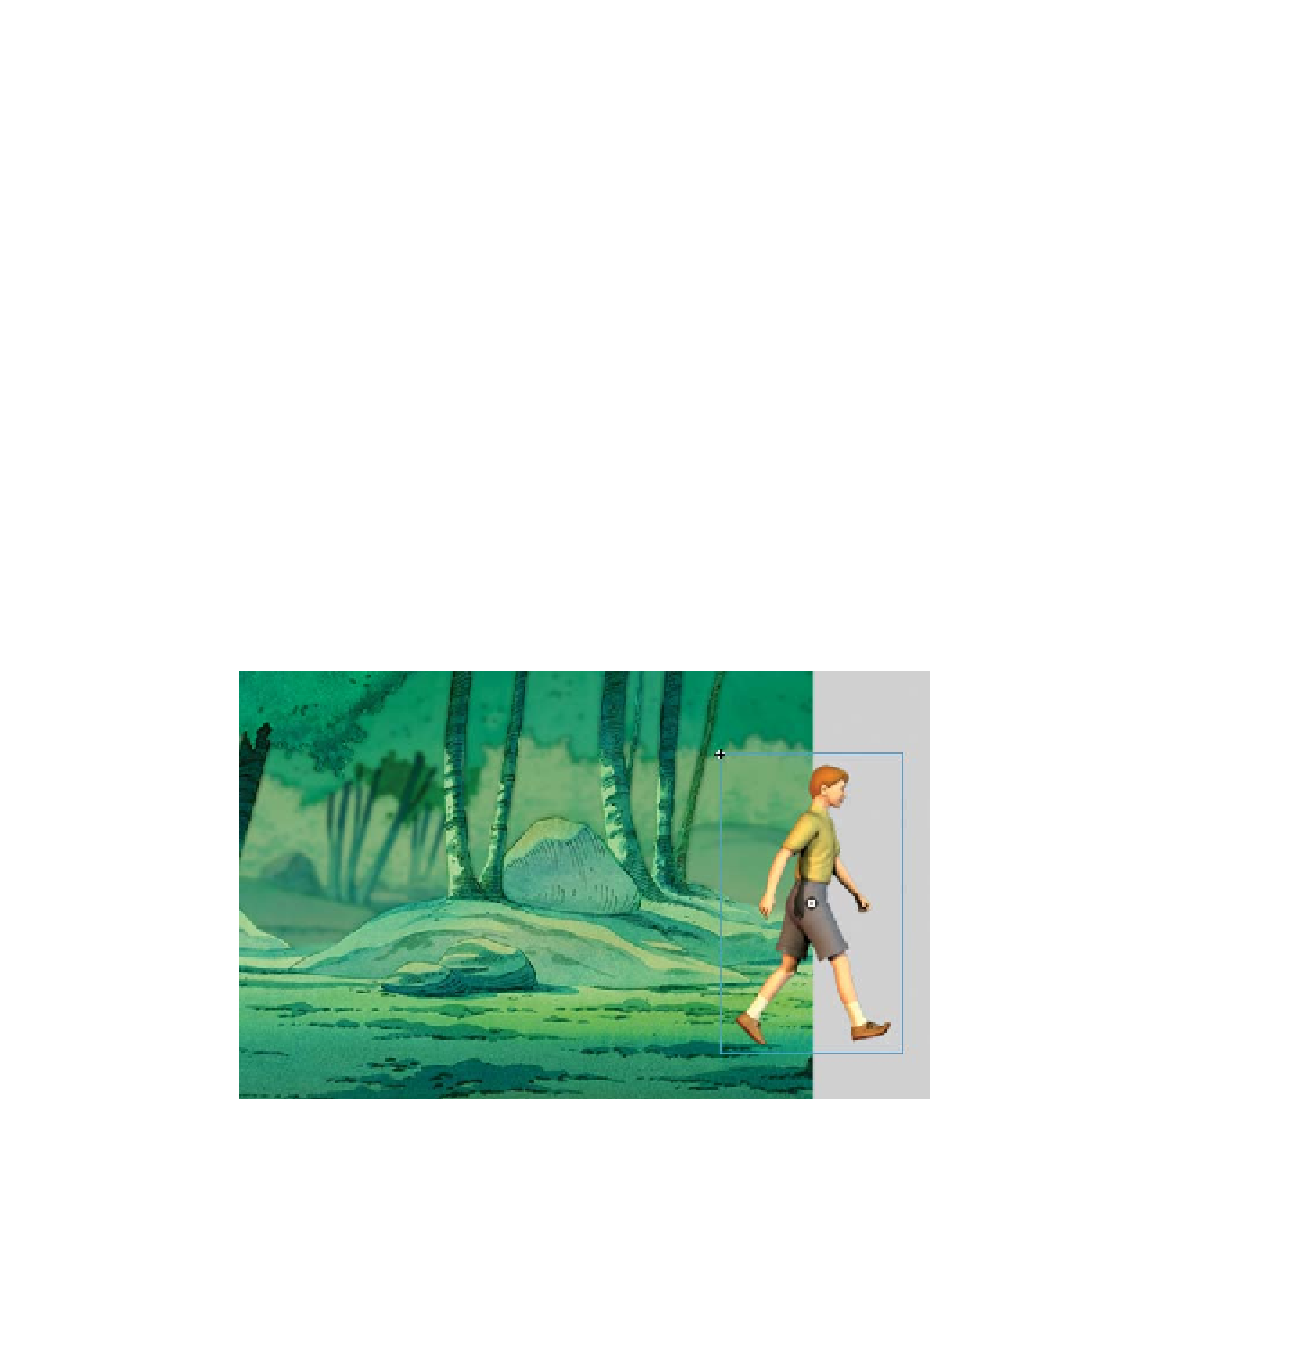
Step 4: Set the ending position
Just like a traditional keyframe artist would do, create a significant change. For this
exercise the change will be the boy's location on the Stage at frame 60. Make sure the
time marker (red vertical bar) is at frame 60. Click and drag the boy to the right of the
Stage. This will represent the second keyframe in the animation (Figure 3.8).
Figure 3.8
Positioning the boy on the right side of the Stage
Step 5: Create a motion tween
Now that you have established a start keyframe and an end keyframe, it is time to
let Flash do all the hard work by filling in the transitional frames in between. Select
the
walker
layer in the Timeline. Click on the first keyframe on frame 1. Go to the

Search WWH ::

Custom Search