Graphics Programs Reference
In-Depth Information
Step 11: Create a movie clip symbol
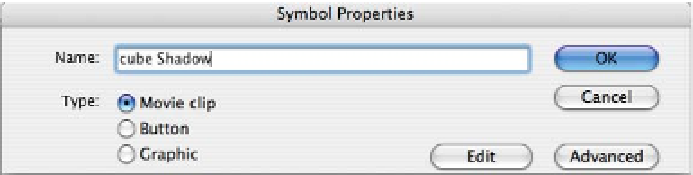
Make sure the cube's shadow is still selected. Select Modify > Convert to Symbol. The
Symbol Properties dialog box appears. Type in
cube Shadow
for the name. Make sure
the type is set to Movie clip (Figure 2.41). Click OK. The reason you are creating a
movie clip out of the shadow is so that you can apply a Blur filter to it. Filters cannot
be applied to basic shapes on the Stage.
Figure 2.41
Symbol Properties dialog box
Step 12: Add the Blur filter
Go to the Properties palette again and click on the Filters tab. Click on the “+” to add a
new filter to the instance. Select Blur from the drop-down menu. Instantly the object is
blurred on the Stage. The Blur filter can be adjusted horizontally (Blur X) and vertically
(Blur Y). Increase the Blur X factor to 10. Keep the Blur Y factor at 5.
Step 13: Create another movie clip and add a Blur filter
Click on the sphere's shadow. Select Modify > Convert to Symbol. The Symbol
Properties dialog box appears. Type in
sphere Shadow
for the name. Make sure the
type is set to Movie clip. Click OK. Go to the Filters tab and add the Blur filter to the
shadow movie clip instance. Increase the Blur X and Blur Y factor to 10.
Step 14: Create a new layer
Click on Insert Layer button. Rename the layer
to
highlight
. Put the layer at the top of the
Timeline. A highlight will give the sphere a shiny
look and feel.
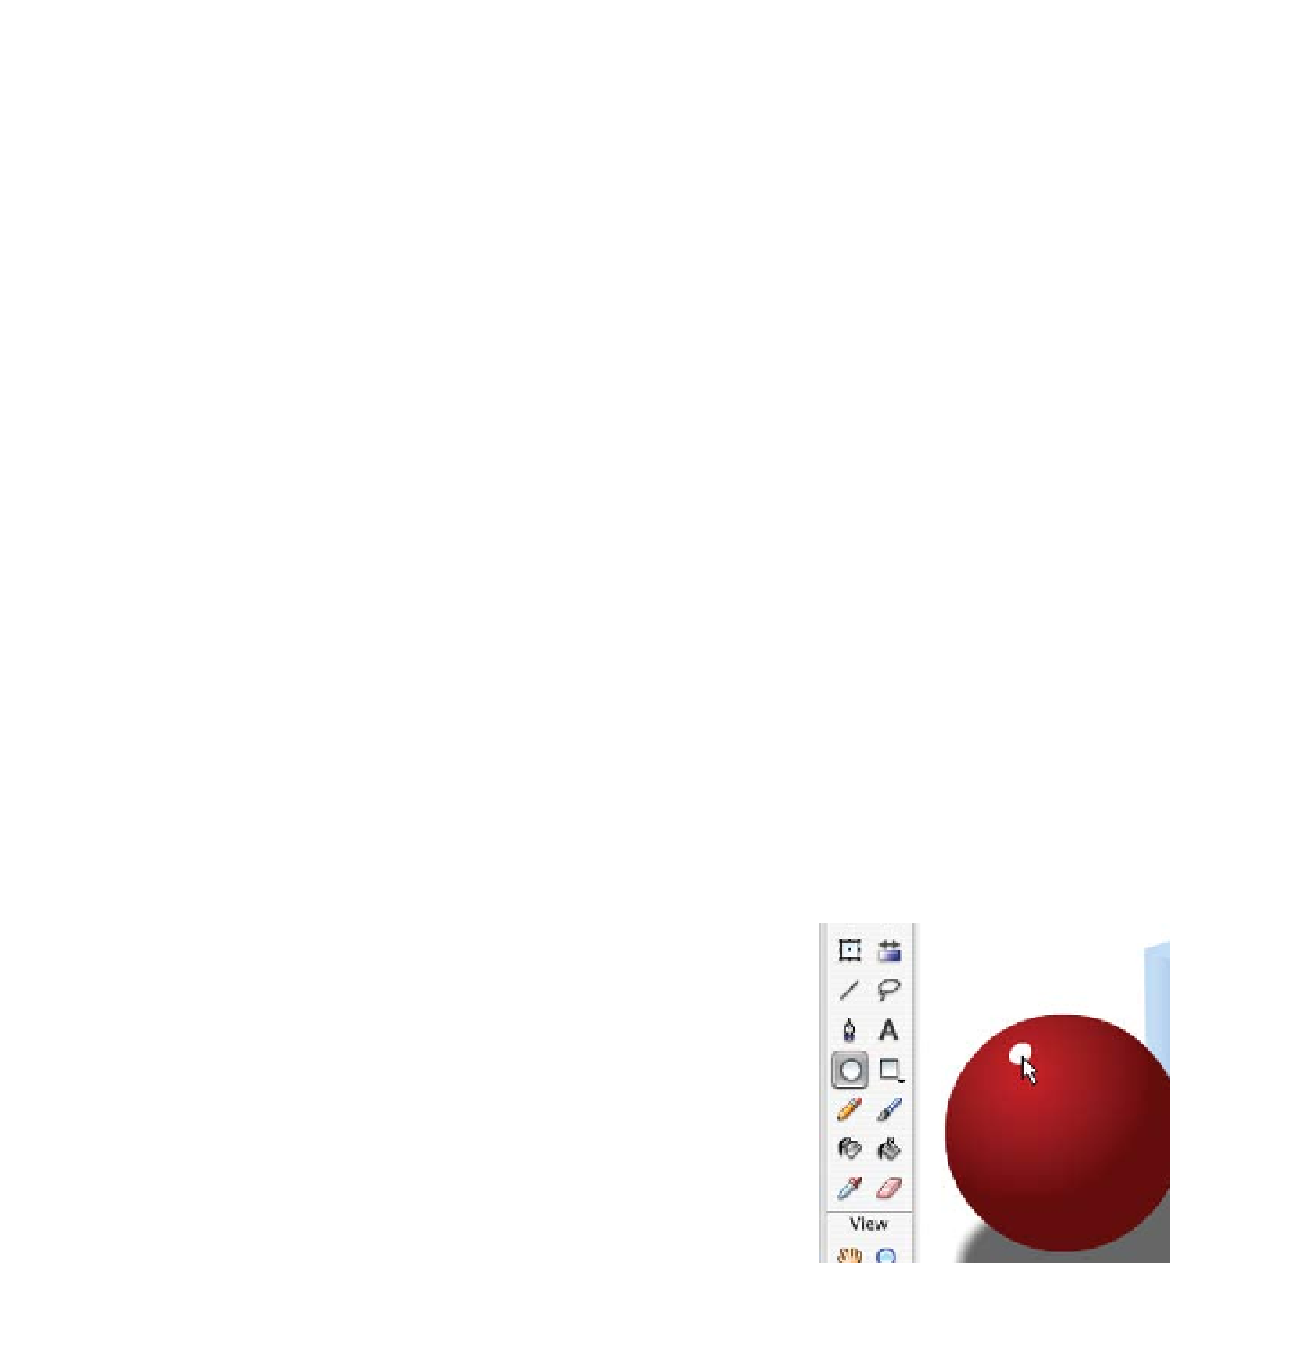
Step 15: Create a highlight shape
Select the Oval tool from the Tools palette. Set
the Stroke Color to none and the Fill Color to
white. On the highlight layer draw a small white
oval near the top of the sphere (Figure 2.42).
Figure 2.42
Highlight
Search WWH ::

Custom Search