Graphics Programs Reference
In-Depth Information
To change from RGB to HSB, click on the menu
icon at the top-right edge of the Color Mixer
panel. Select HSB from the drop-down menu
(Figure 2.21). The Color Mixer panel will update
with the HSB color values.
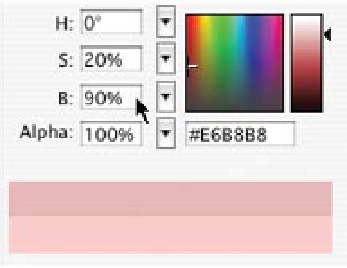
Decrease the brightness value (B) from 100% to
90% (Figure 2.22). This creates a new fill color
to paint with. The new, darker, pink color will
provide the surface shading.
Figure 2.22
Adjusting the brightness
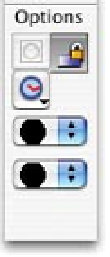
Step 4: Set Brush tool options
The Brush tool paints shapes with the fill color. Select the Brush
tool. Notice that there are options associated with this tool. These
options are located at the bottom of the Tools palette. They include
Brush Mode, Brush Size, and Brush Shape. Select the Brush Mode
drop-down menu. There are several painting options to choose
from. Select Paint Inside from the list (Figure 2.23). This will allow
you to paint brush strokes directly inside a single filled shape.
Figure 2.23
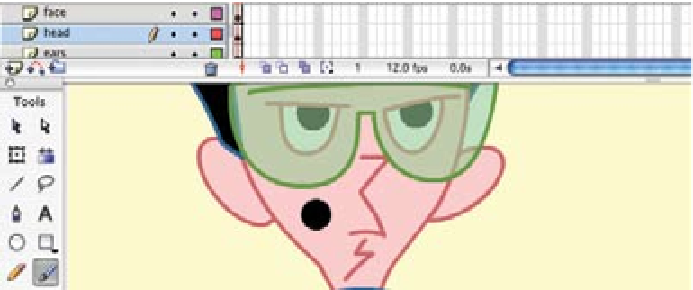
Step 5: Paint in the surface shading
Make sure the
head
layer is selected in the Timeline. This is the filled shape you need
to paint on. For this exercise, the light source is coming from the right side. To simulate
the roundness of our superhero's head, the shading would appear on the left.
With the Brush tool selected, move the cursor over the head. Position it on the left side.
It is important that the point of the cursor is on the pink fill (Figure 2.24). Click and
drag to start painting the surface shading.
Figure 2.24
Finished cast shadow


Search WWH ::

Custom Search