Graphics Programs Reference
In-Depth Information
Step 4: Simulate aerial perspective
So far you have simulated relative size through scaling and interposition through the
layer stacking order. Let's play around with the lighting in this scene. You may be ask-
ing yourself, “Where are the lights in Flash?” There aren't any lights. You simulate a
change in lighting through an object's color and clarity. For this example, the scientist
and his clone are in a dark and mysterious lab. The clone is further away from us in the
darkness. Let's simulate the effects that lighting would have on this situation by apply-
ing basic color effects to the symbol instance.
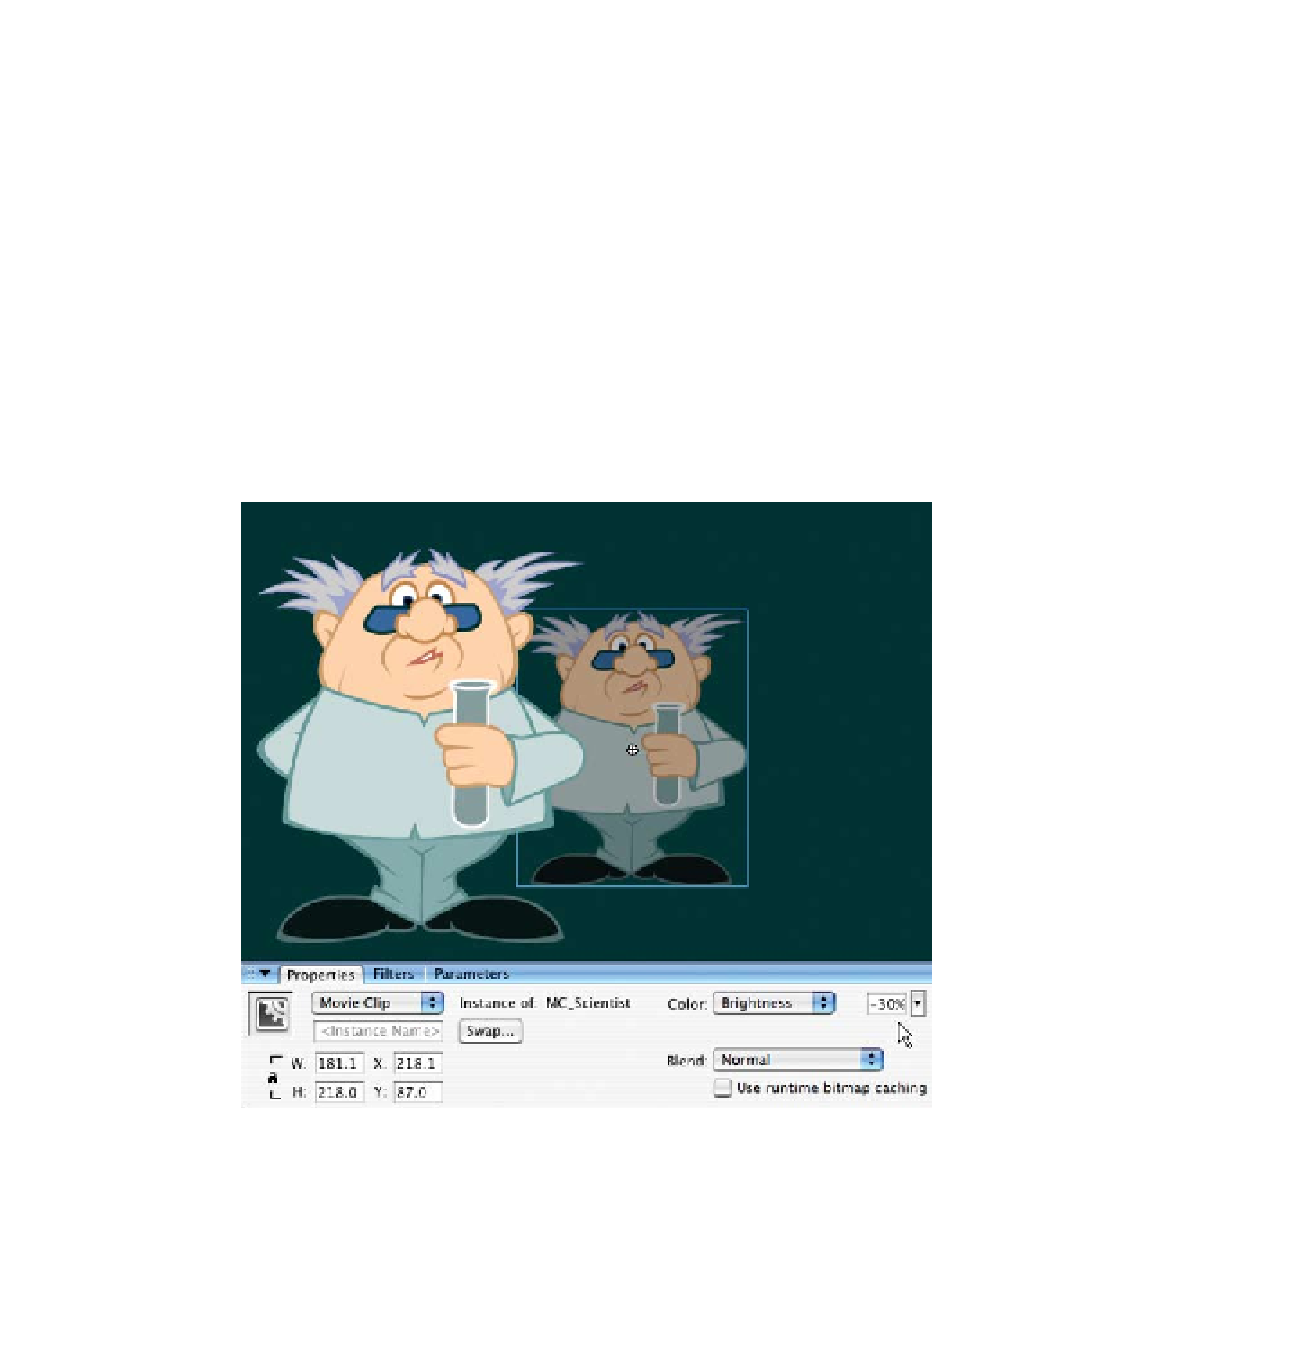
Click on the clone. Go to the Properties palette. Each instance of a symbol can have
color effects applied to it. Click on the Color drop-down menu and select Brightness.
White is 100% and black is -100%. Adjust the brightness to -30%. Visually, the clone
recedes into the depths (Figure 2.15).
Figure 2.15
Adjusting brightness to simulate aerial perspective
That solves the coloring of the object. We are halfway there. Next is clarity. Flash offers
additional filters that can be applied to symbol instances. These filters include Drop
Shadow, Blur, Glow, and Bevel. Let's take a closer look at the Blur filter. Make sure the
clone instance is still selected on the Stage.
Search WWH ::

Custom Search