Graphics Programs Reference
In-Depth Information
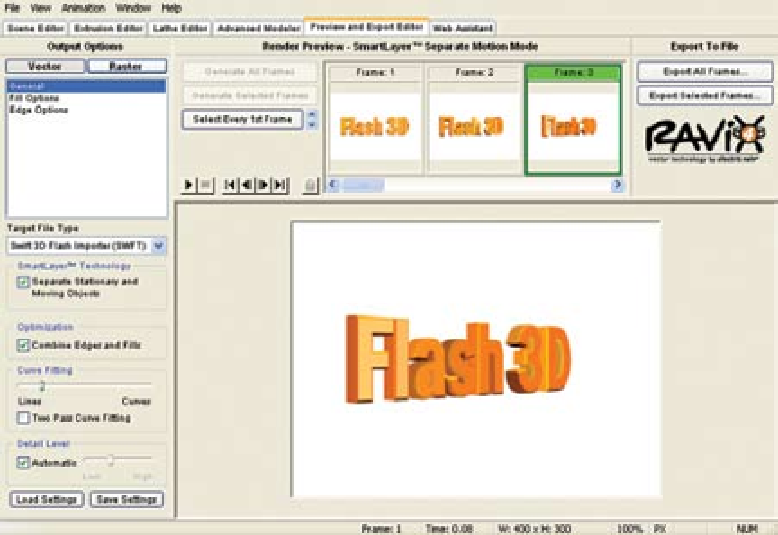
To render the animation for Flash, select the Preview and Export Editor tab at the top of
the Swift 3D interface. Here is where you choose your output options, render the scene,
and finally export to file. The user interface is divided into these three areas—Output
Options, Render Preview, and Export to File (Figure 10.17).
You have two output options—vector and raster. By default, the Vector button is select-
ed. Since we will be importing the animation into Flash using the Swift 3D importer, the
target file type is set to Swift 3D Flash Importer (SWFT). There are options available to
fine-tune the optimization of each frame within the animation.
Once you have chosen the output options, click on the Generate All Frames button in
the Render Preview area to start the rendering process. Swift 3D displays each separate
frame as it is rendered. After the rendering is done, you can preview the animation in
the preview area. Use the playback controls to view the animation.
To export the animation, click on the Export All Frames button in the Export to File
area. A dialog box appears for you to name the file. To import the animation into Flash,
open a new document and select Edit > Import > Import to Stage. Locate the .swft file
and choose Import. The exported Swift 3D animation will appear as a frame-by-frame
animation in the Flash Timeline.
Figure 10.17
Animation presets in Swift 3D

Search WWH ::

Custom Search