Graphics Programs Reference
In-Depth Information
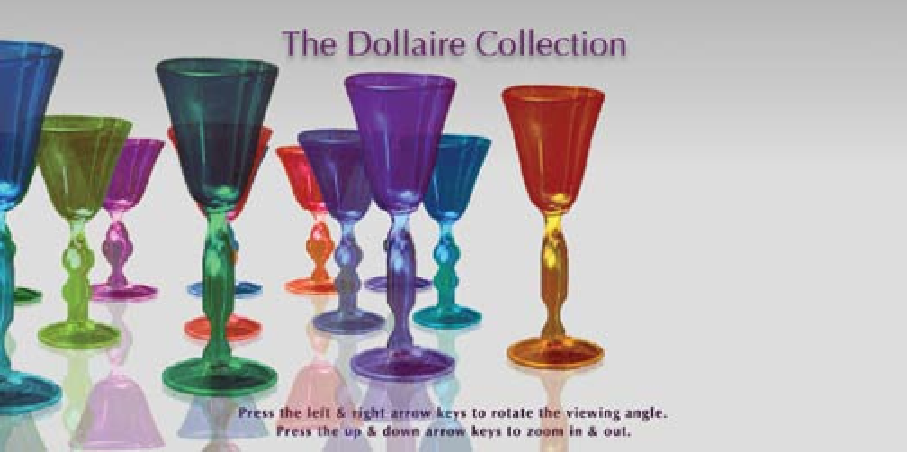
Figure 7.27
Example of viewer rotation
To get a better understanding of how the viewer rotation works, it may be helpful to
look at Figure 7.28, where a rotation is shown from above in scale. The left side of the
figure shows the viewer looking at the objects in 3D space before any rotation. The
blue line represents the picture plane which, in our case, is the Stage or, if you prefer,
the monitor screen.
Several typical projection lines are drawn from the viewer to the objects. What the
viewer is seeing at this point is shown in Figure 7.26. Notice how the front middle glass
blocks those behind it as the top view indicates. The glass to the right of center blocks
the glass in the far right as also indicated by the projection lines.
The middle drawing of Figure 7.28 illustrates the viewer physically rotating 20 degrees
in a clockwise direction. The picture plane rotates with the viewer while the distance
between the viewer and the picture plane remains constant. Projection lines to the
same objects as before are drawn. This is the scene as the viewer would see it.
The drawing on the right side of Figure 7.28 is simply the middle drawing rotated back
so that the picture plane, the monitor screen, is in its original position. What the viewer
sees is shown in Figure 7.27. When you press on the arrow keys, the sensation is often
one of rotating the objects rather than that of the viewer rotating. But then again,
didn't someone once say that everything is relative?


Search WWH ::

Custom Search