Graphics Programs Reference
In-Depth Information
ence in the way each looks on the screen. However, when zoomed in, the glass on the
left is much more pixellated than the glass on the right.
Figure 7.22
Comparison of .png and .swf images
The reason for the better image quality in the .swf file is one of the options available
when a bitmap is brought into Flash. After an image has been imported, select it in the
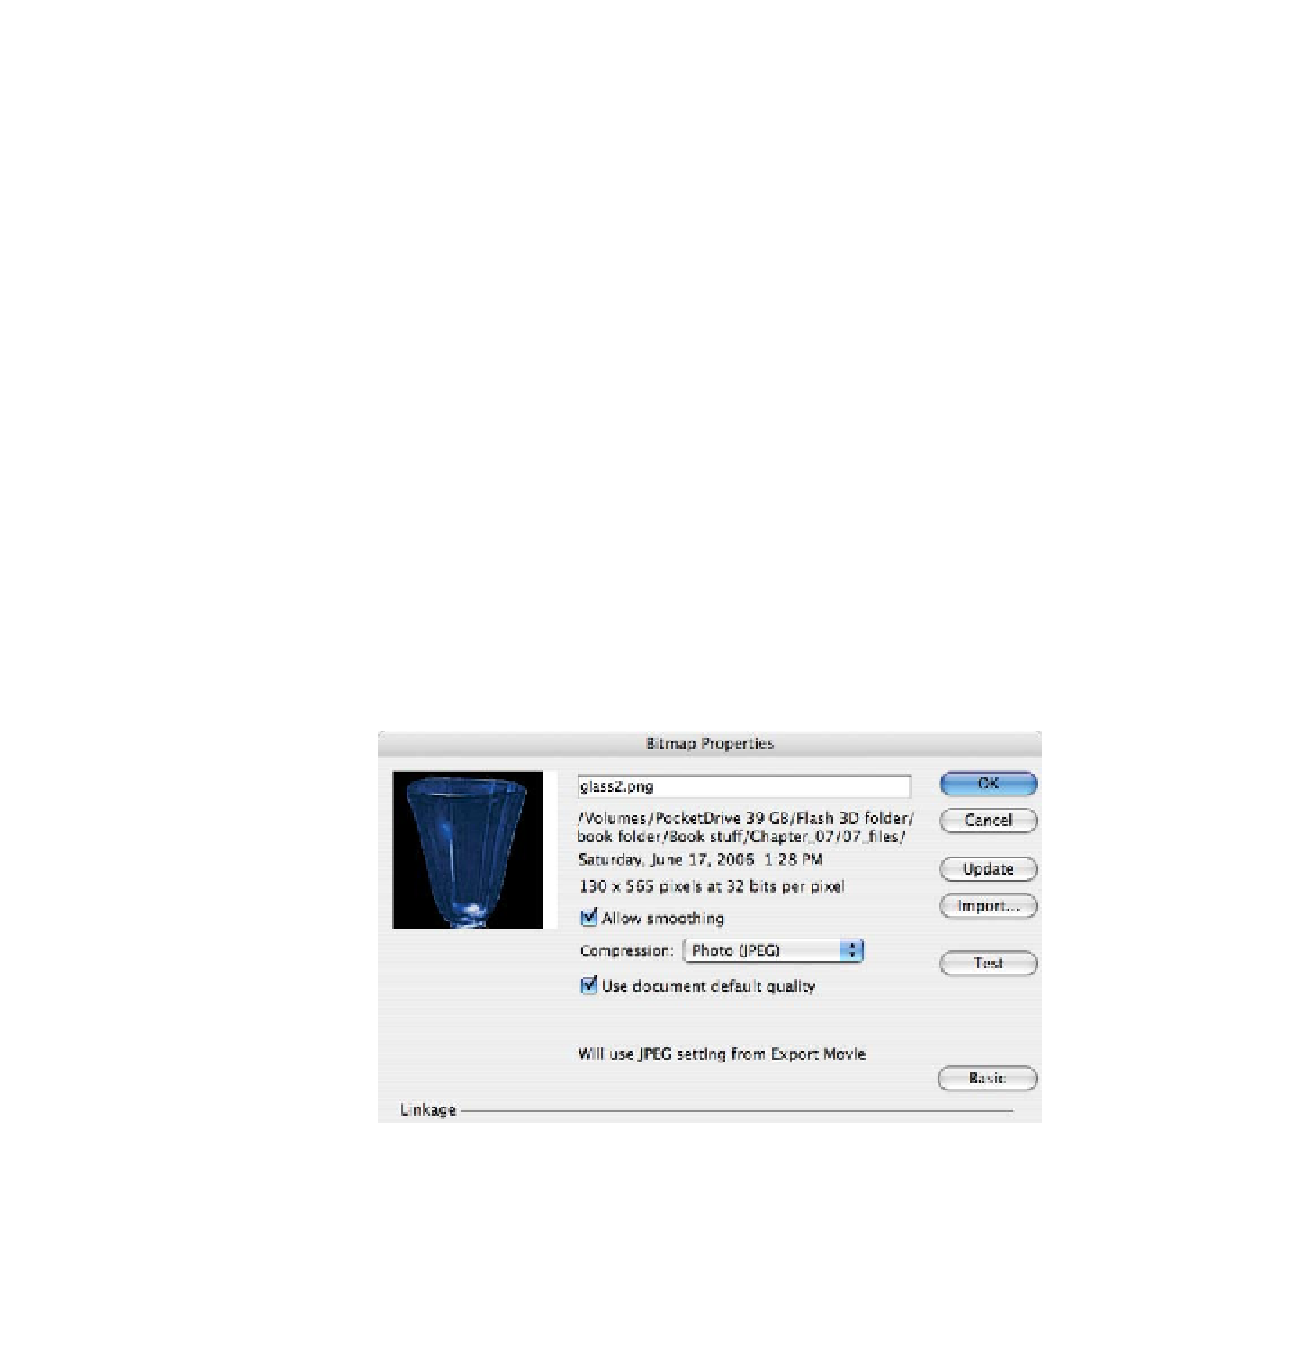
Library window and click on the Properties Info box at the bottom of the window. When
the dialog box appears, select the “Allow smoothing” option as shown in Figure 7.23
and click on the OK button.
Figure 7.23
Setting the smoothing option
After smoothing has been enabled, the images can be placed sequentially on the
Timeline as shown in Figure 7.24. Select a frame and the choose File > Export > Export
Image. When the dialog box appears, select Flash movie as the format and save the
image. The exported image will be a .swf
file.

Search WWH ::

Custom Search