Graphics Programs Reference
In-Depth Information
Step 2: Setting up the 3D scene
We next need to set up our 3D scene. This scene will be more highly structured than
previous examples in terms of placement of objects. In this case a movie clip in the
scene
layer named
scene3D
has been created, so we will not need to create an empty
movie clip. Select the
scene
layer and double-click on
scene3D
in the Library window
to go to the symbol editing window.
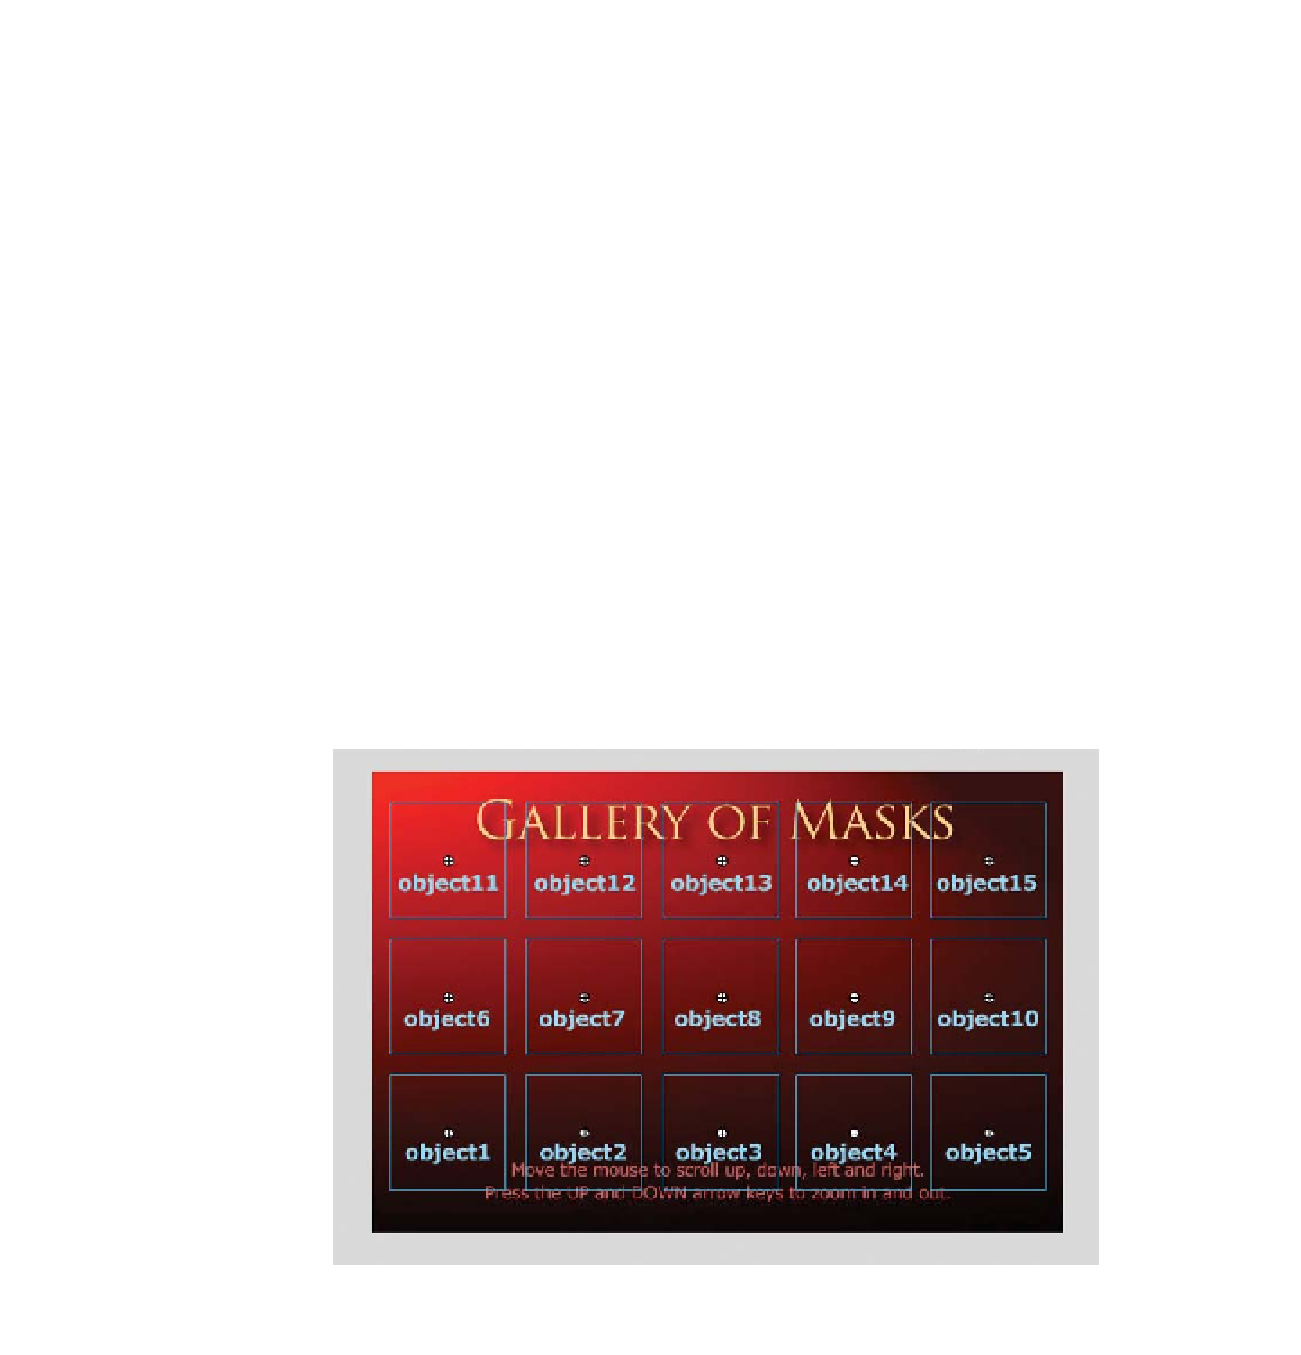
Inside
scene3D
are 15 movie clips named
object1
through
object15
located as shown
in Figure 7.8. These movie clips merely function as placeholders for the images that we
are going to use. Their size is unimportant, while their placement serves to indicate the
eventual layout of the scene. The layout functions as a general floor plan looking down
on the x-z plane. The row of objects,
object1
-
object5
, will be closest to the viewer
while the row of objects,
object11
-
object15
, will be farthest away. The naming order
is important for the 3D coordinates that will define each placeholder in space. The rea-
son for these placeholders is that we will be loading the images dynamically into them
to reduce the file size of our movie. These placeholders could be generated on the fly as
empty movie clips, but creating them this way is helpful in visualizing what we want.
Since we already have an existing
scene3D
movie clip, we need to delete line 12 from
our script as shown.
Figure 7.8
Placeholder movie clips for
scene3D
Search WWH ::

Custom Search