Graphics Programs Reference
In-Depth Information
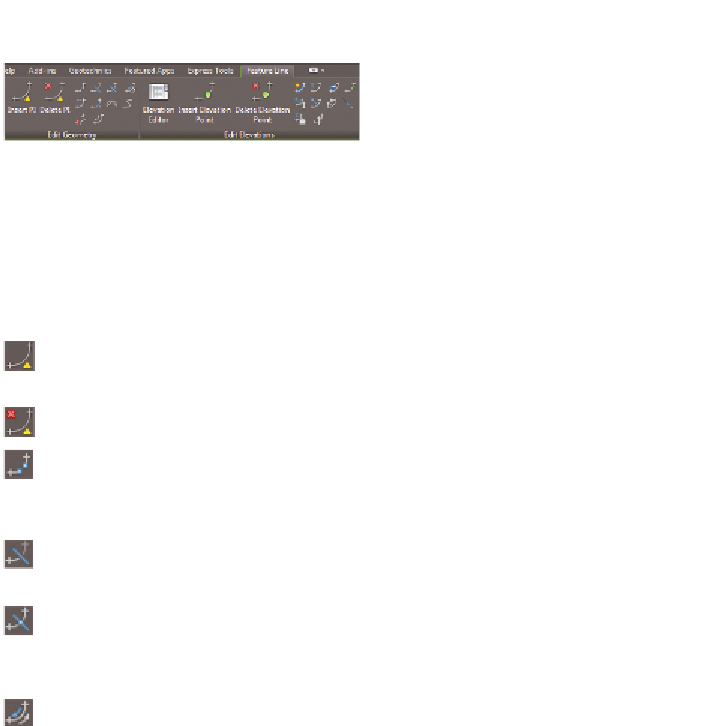
FiGuRE 17.4
The Edit Geometry and Edit
Elevations panels of the Feature Line ribbon tab
using Edit Geometry Commands
The feature-line geometry editing commands provided by Civil 3D are as follows:
insert Pi
Use this command to insert a new PI at a point you specify. A PI
can be edited in all three dimensions.
Delete Pi
Use this command to remove PIs from the feature line.
Break
Use this command to break one feature line into two feature lines.
You can do this by creating a gap between the two feature lines, or you can
have them meet end to end.
trim
Use this command to shorten a feature line by making it end precisely
at another object.
Join
Use this command to join two or more feature lines to make one
feature line. If there is a gap between the two feature lines, it must lie
within a certain tolerance or they won't be joined.
Reverse
Use this command to change the direction of the feature line.
This swaps the beginning and ending points as well as reverses the direction
of stationing. This can affect editing and labeling.
Edit Curve
Use this command to change the radius of a feature-line curve.
Fillet
Use this command to add a feature-line curve where there is cur-
rently a PI. The command includes options to set the radius of the curve
and to create multiple fillets at once.
Fit Curve
Use this command to replace a series of line segments with
an arc. This helps to simplify the feature line by replacing multiple points
with an arc. This command differs from the Smooth command in that you can
control where curves are created. Also, the curves it creates are static, meaning
they don't change when adjacent geometry changes.
Smooth
Use this command to replace PIs with curves. This command
is different from the Fit Curve command in that it creates curves for the
entire feature line and the curves are dynamic, meaning they remain tangent as
the feature line is modified.