Graphics Programs Reference
In-Depth Information
5.
Click the upward-pointing arrow icon three times, until ROW is at
the top of the list. Click OK.
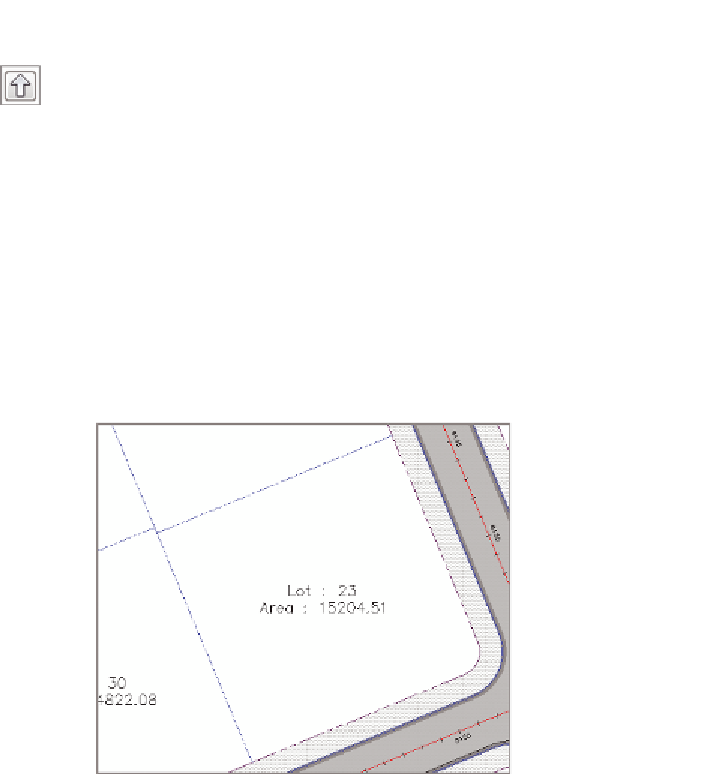
Lot : 23 is now bounded by a purple dashed line on the south and
east sides and a blue dashed line on the north and west sides. The ROW
parcel style is being displayed “on top of” the Lot style, as dictated by
Parcel Style Display Order (see Figure 13.3).
6.
In Prospector, right-click Parcels and select Properties.
7.
Arrange the styles under Parcel Style Display Order as follows: ROW,
Adjoiner, Open Space, Lot, Property, and Basic. Click OK.
◀
8.
Zoom in to the drawing, and study the different areas where parcels
of different styles are adjacent to one another.
For example, the back
line of lots 48 through
50 is green because the
Open Space style has
been placed above the
Lot style in Parcel Style
Display Order.
FiGuRE 13.3
Parcel Style Display Order at work
9.
Save and close the drawing.
You can view the results of successfully completing this exercise by opening
Applying Parcel Style Display Order - Complete.dwg
.
Applying Parcel Area labels
The labels you have seen at the center of each parcel are known as
parcel area
labels
. They don't have to contain information about the area of the parcel; how-
ever, they often do. You can create parcel area labels by using the Add Labels
command as you have done before to create other labels. One unique capability of
parcel area labels is that they can also be assigned through the Parcel Properties