Graphics Programs Reference
In-Depth Information
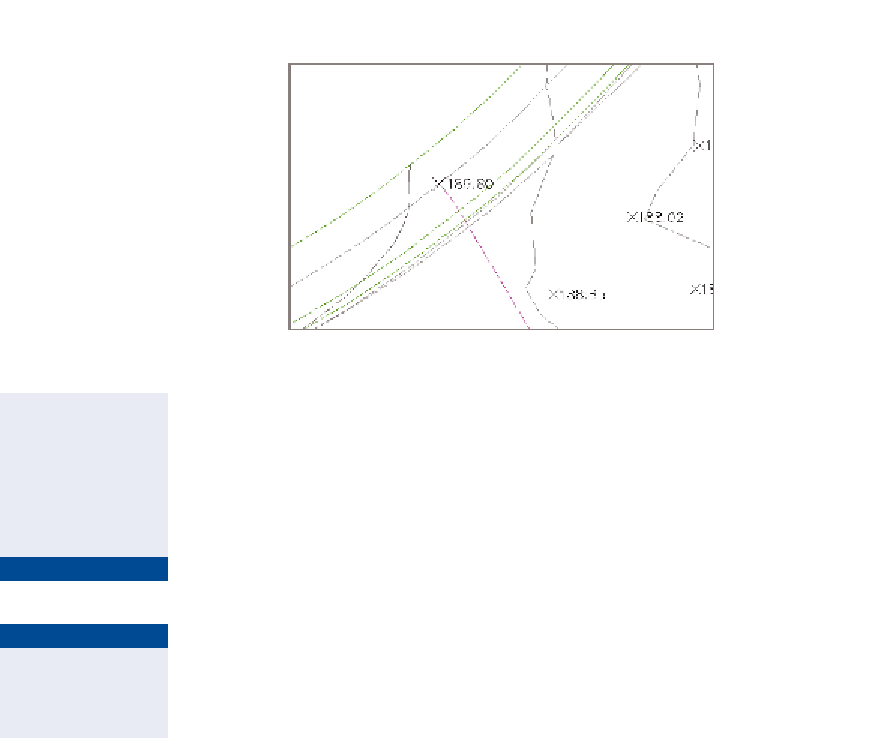
FiGuRE 4.18
Spot elevation label showing 189.80' (57.85m)
added where the new road meets the existing road
This creates a label
that points downhill
at the one point you
select. With two-point
labels, you control the
direction.
8.
For Label Type, select Slope.
9.
Verify that Slope Label Style is set to Percent-Existing, and click Add.
10.
When prompted at the command line, press Enter to accept the
default of <One-point>.
▶
11.
Click a point to the south of the road to label the slope. Press the Esc
key to end the command.
▶
12.
Click the label, and then click the square grip at the midpoint of
the arrow. Move your cursor across the drawing, and note how the
label changes.
This dynamic label
behavior is consistent
throughout Civil 3D.
13.
If the Add Labels dialog box is already open, skip to the next step. If
not, click one of the contours to select the surface, and then click Add
Labels
➢
Add Surface Labels on the ribbon.
14.
For Label Type, select Contour - Multiple. Verify that the names of all
three label styles begin with Existing, and click Add.
15.
Click two points in the drawing that stretch across several contours.
Contour labels appear where contours fall between the two points
you've selected (see Figure 4.19). You've actually drawn an invisible
line that intersects with the contours.
16.
Press Esc to clear the previous command, and then click one of the
newly created labels.
Notice the line that appears. Click one of the grips, and move it to
a new location to change the location of the line. The contour labels
go where the line goes, even if you stretch it out and cause it to cross
through more contours, in which case it will create more labels.