Hardware Reference
In-Depth Information
To begin the installation process, click the Install icon at the top-left of the menu and, when
asked, confirm that the SD card can be overwritten when asked. As with installing NOOBS
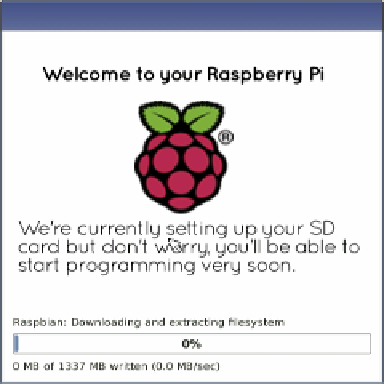
itself, this process can take a long time to complete; be patient, watch the progress bar and
slideshow (see Figure 2-9) and don't remove the power cable or SD card from the Pi until it is
finished. When the operating system is installed, click the OK button to reboot and load your
chosen operating system.
Figure 2-9:
Installing an
operating
system via
NOOBS
If you have installed more than one operating system, NOOBS will bring up a menu asking
which one to boot: if you don't make a choice, the last operating system chosen—or the first
in the list, if you haven't booted into an OS before—will automatically boot after 10 seconds.
For more information on using NOOBS after the operating system is installed, to either
install a different operating system or to change the Pi's various settings, see Chapter 7,
“Advanced Raspberry Pi Configuration”.
Installing Manually
Installing an operating system manually is a more complicated procedure than using the
NOOBS tool, but is sometimes preferable. By installing the software manually—a process
known as
lashing
—you can choose to install operating systems that aren't available through
NOOBS or newer versions that the tool doesn't yet have available.
To prepare a blank SD card for use with the Raspberry Pi, you'll need to flash an operating
system onto the card, using your desktop or laptop computer. While this is slightly more
complicated than simply dragging and dropping files onto the card, it shouldn't take more
than a few minutes to complete.