Hardware Reference
In-Depth Information
mounted—a process you will learn in Chapter 3, “Linux System Administration”. For now,
it's enough to connect the drives to the Pi in readiness.
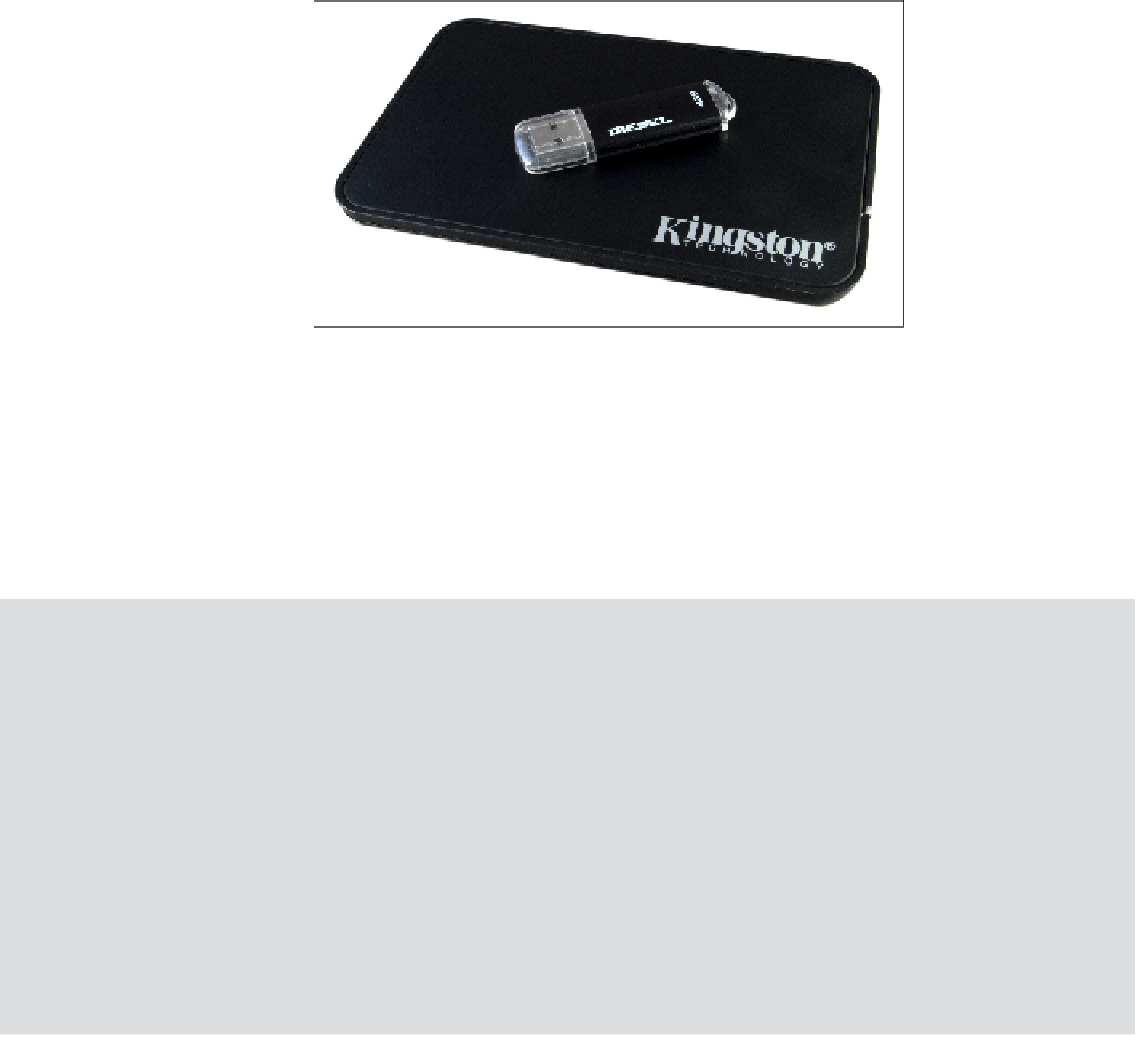
Figure 2-5:
Two USB Mass
Storage devices:
a pen drive and
an external hard
drive
Connecting the Network
While the majority of these setup instructions are equally applicable to both the Raspberry Pi
Model A and the Model B, networking is a special exception. To keep the component count—
and therefore the cost—as low as possible, the Model A doesn't feature any onboard net-
working. Thankfully, that doesn't mean you can't network the Model A, only that you'll need
some additional equipment to do so.
Networking the Model A
To give the Model A the same networking capabilities as its more expensive Model B coun-
terpart, you'll need a USB-connected Ethernet adapter. This connects to a free USB port on
the Raspberry Pi or a connected hub, and provides a wired Ethernet connection with an
RJ45 connector, the same as is available on the Model B.
A 10/100 USB Ethernet adapter—with the numbers referring to its two-speed mode, 10 Mb/s and
100 Mb/s—can be purchased from online retailers for very little money. When buying an Ethernet
adapter, be sure to check that Linux is listed as a supported operating system. There are a few
models that only work with Microsoft Windows and are incompatible with the Raspberry Pi.
Don't be tempted to go for a gigabit-class adapter, which may be referred to as a 10/100/1000
USB Ethernet adapter. Standard USB ports, as used on the Raspberry Pi, can't cope with the
speed of a gigabit Ethernet connection, and you'll see no benefit from the more expensive
adapter.