Hardware Reference
In-Depth Information
The final step in the camera's physical installation is to remove the small, protective piece of
plastic film found over the lens. This can simply be peeled off and discarded by pulling gently
upwards on the tab that extends out from the lens. Although it's tempting to leave it in place
to protect the lens, this will give everything you capture an unpleasant blue hue.
Enabling Camera Mode
The software to drive the Raspberry Pi Camera Module is included in the Raspbian distribu-
tion by default. If you're using a particularly old release, you may find that the files are miss-
ing; if so, update your system using the following command at the terminal or console (see
Chapter 3, “Linux System Administration” for details):
sudo apt-get update && sudo apt-get upgrade
You will need to change some system settings in order for the Camera Module to work cor-
rectly, however. In particular, recording video requires that the graphics processing portion
of the Pi's BCM2835 processor has at least 128MB of memory available; with any less than
that, still image capturing will work but video recording will fail. For details on how to change
this split, see Chapter 6, “The Raspberry Pi Software Configuration Tool”.
The easiest way of ensuring that your Pi is camera-ready is to use the Raspberry Pi Software
Configuration Tool
raspi-config
. At the terminal, type the following command to load
the tool:
sudo raspi-config
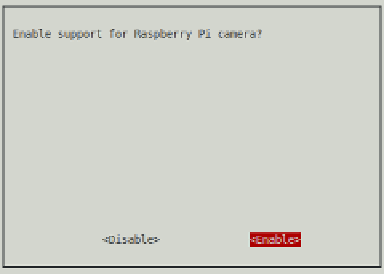
In the menu that appears, select option 5—Enable Camera—using the cursor keys and
Enter. Choose Enable in the screen that appears and press Enter again (see Figure 15-5). If
Camera Mode was disabled previously, you will be prompted to reboot the Pi; confirm this by
pressing Enter.
Figure 15-5:
Enabling
Camera Mode in
the Raspberry Pi
Software
Configuration
Tool raspi-
config