Hardware Reference
In-Depth Information
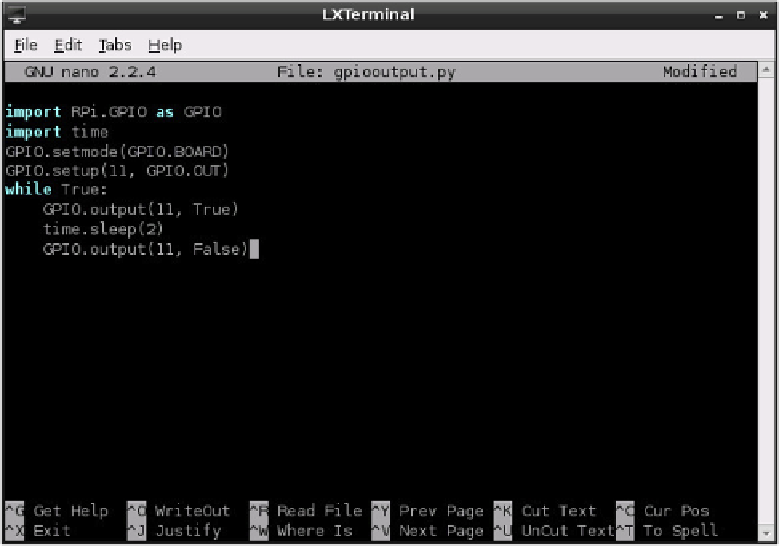
Figure 14-4:
he
gpiooutput.
py program,
being edited in
nano, and
waiting for its
final line
If things don't work, don't panic. First, check all your connections. The holes in a breadboard
are quite small, and it's easy to think you've inserted a component into one row only to find
it's actually in another. Next, check that you've connected the circuit to the right pins on the
GPIO port—with no labelling on the Pi itself, mistakes are unfortunately easy to make.
Finally, double-check your components—if the forward voltage of your LED is higher than
3.3 V or if your current limiting resistor is too large, the LED won't light up.
Although this example is basic, it's a good demonstration of some fundamental concepts. To
extend its functionality, the LED could be replaced with a buzzer to make an audible alert, or
a servo or motor as part of a robotics platform. The code used to activate and deactivate the
GPIO pin can be integrated into other programs, causing an LED to come on when new email
arrives or a flag to be raised when a friend has joined an IRC channel.
GPIO Input: Reading a Button
Being able to use the GPIO as an output is undeniably useful, but it becomes significantly
more so when you can combine that with one or more inputs. In the following example,
you'll see how to connect a push-button switch to another pin on the GPIO port and read its
status in Python.