Hardware Reference
In-Depth Information
across your work area. Make sure you can move the iron freely before plugging it in. If the
cable gets caught on something, you may end up burning yourself.
Dampen your soldering sponge with water—it should be damp, but not dripping wet. This is
important: the damp sponge will be used to clean the iron, and if it's dry, it will burn and may
damage the iron's delicate tip.
It will take a few minutes for the soldering iron to reach its operating temperature. If you've
purchased a temperature-controlled iron, this will normally be indicated either by a light that
switches on or off to indicate the temperature has been reached or by a numerical tempera-
ture read-out. (See the operating manual that came with your soldering iron to find out how
temperatures are indicated on it.)
Once the operating temperature has been reached, it's time to prepare the soldering iron
using a process known as
tinning
. Follow these steps:
1.
Push the tip of the solder against the tip of the iron, allowing a small amount to melt
onto the iron. Be careful not to melt too much onto the iron: not only is this a waste of
solder, but it can cause excess solder to fall onto the work area.
2.
Wipe the tip of the iron onto the sponge. If it hisses and spits, the sponge is too wet;
allow it to cool, then remove it from the stand and wring it out.
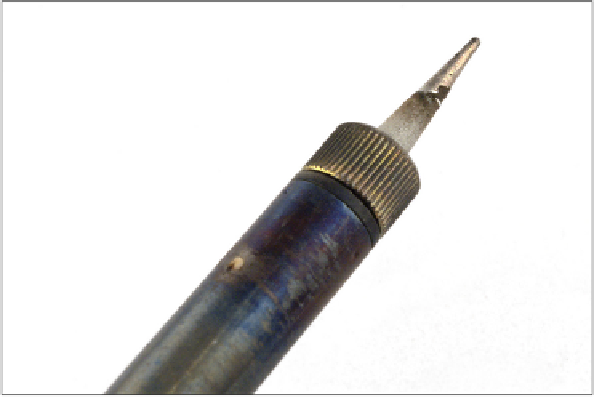
3.
Keep wiping the tip of the iron until it is coated in a silver layer of solder (see
Figure 13-5). If necessary, apply more solder to the tip.
Figure 13-5:
A soldering iron
tip that is in the
process of being
tinned with
solder