Hardware Reference
In-Depth Information
When the Raspbmc installer has finished, insert the SD card into the Pi and re-connect the
power supply—but make sure the Ethernet cable is connected as well, because Raspbmc
needs to download some data from the Internet when it first loads. The initial load of
Raspbmc can take 10 or 15 minutes to complete as it downloads updates and partitions the
SD card, but subsequent loads are significantly faster. Don't panic if the first boot hangs at
the Formatting Partitions stage—a long pause here is normal.
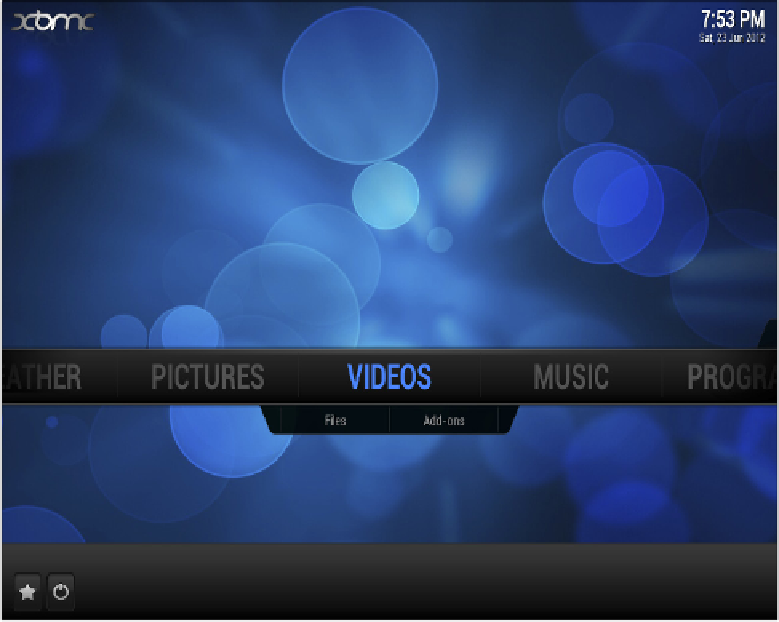
When loaded, Raspbmc automatically starts the Xbmc service (see Figure 8-2). This provides
a custom user interface specifically designed for living-room use. Everything is accessible
through the keyboard or mouse, with large and easily readable text and categorised menus to
make it easier to find things. You can also purchase infrared remote controls, which come
with a receiver that plugs into the Pi's USB port and a transmitter that allows for a true home
theatre experience with no bulky keyboard or trailing wires.
Figure 8-2:
he Xbmc home
screen, loaded
by Raspbmc
Streaming Internet Media
By default, Xbmc is configured to play only files it can find on the Raspberry Pi itself. If you
choose Add-ons from beneath the Video menu, you'll be able to add some impressive Internet