Java Reference
In-Depth Information
3. Follow the directions from the installer to install NetBeans (default install location:
Macintosh HD/Applications/NetBeans/NetBeans {version-number}
).
Installation on Ubuntu Linux and OpenSolaris
Prior to installation, ensure that your Ubuntu or OpenSolaris installation meets the minimum
requirements (see recipe
Installing the JavaFX SDK)
.
1. Find the newly downloaded installation package: for Linux, the file will end in
*-linux-i586.sh
; for OpenSolaris, the file will end in
*-solaris-i586.sh
.
2. Make the file executable, and run it.
3. Follow the directions from the installer to install NetBeans (default location:
$HOME
/netbeans-{version-number}
)
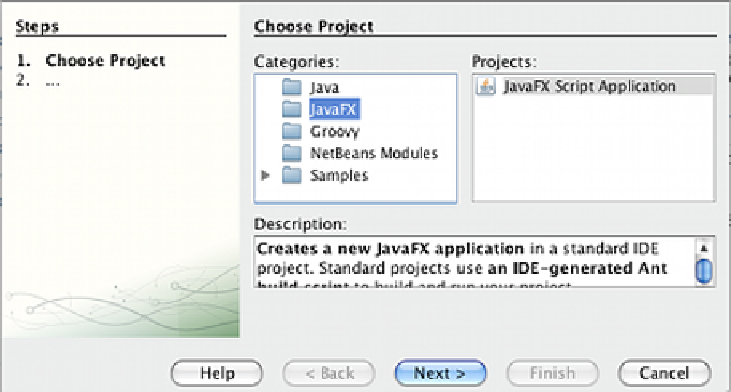
Now that NetBeans is ready, lets create a quick "Hello World" so you can test your JavaFX
NetBeans installation. To get started, select New-Project from the File menu.
When the New-Project wizard opens, select JavaFX from the Categories list and click on the
Next button. Enter the location where the project will be saved, and click on the Next button.
You will end up with a shell of a JavaFX application ready to run. Update the
title
and
content
properties as highlighted in the next code snippet. You can see the full code listing
at
ch01/source-code/src/hello/HelloJavaFX.fx
.
import javafx.stage.Stage;
import javafx.scene.Scene;
import javafx.scene.text.Text;
import javafx.scene.text.Font;