Game Development Reference
In-Depth Information
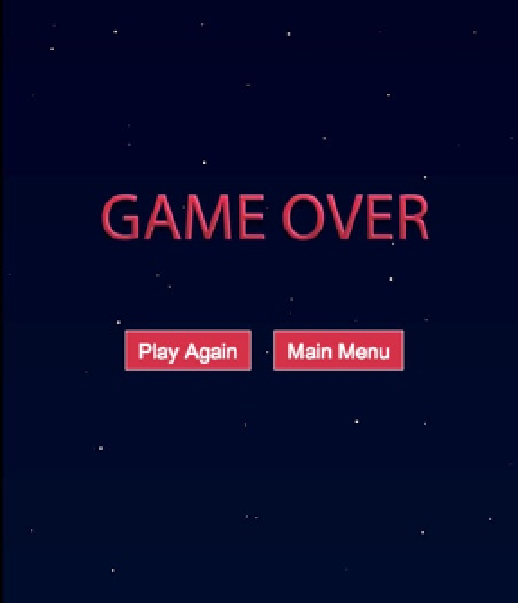
Figure 11-11.
The game over screen with option to replay or return to main menu
You now have all assets loading in, the state manager in place, and all sprites and game scenes written. At this
point, make sure you can cycle through each state by clicking on the buttons in the menu screens. When you play
the game, you should see nothing but a star field for three seconds before switching to the game over screen. With
everything working correctly, it's time to add action to this empty space.
Creating the Game
The application files are now completely set up; the only thing left is to program the game. The
Game
class was set up in
the “Creating the Game Scene” section. Remove the temporary
setTimeout
function that was set up to automatically
move on to the game over screen. Your
initialize
method should now simply look like the following:
p.initialize = function () {
this.Container_initialize();
}
Declaring the Game Variables
The game takes many variables, which are declared at the top of the class (see Listing 11-15). The variables are
grouped into categories that are labeled by comments. Many of these variables may look new to you but will be
explained in full throughout following sections.