Game Development Reference
In-Depth Information
"frank":[8],
"scoreBrick":[9],
"stone_0":[10],
"stone_1":[11],
"stone_2":[12],
"stone_3":[13],
"window":[14],
"windowOn":[15]
}
};
var spritesheet = new createjs.SpriteSheet(data);
var frank = new createjs.Sprite(spritesheet,'frank');
frank.regY = frank.getBounds().height;
var villager1 = new createjs.Sprite(spritesheet,'cpu1');
villager1.regY = villager1.getBounds().height;
var villager2 = new createjs.Sprite(spritesheet,'cpu2');
villager2.regY = villager2.getBounds().height;
frank.y = v1.y = v2.y = 200;
villager1.x = 150;
villager2.x = 300;
stage.addChild(frank, villager1, villager2);
}
One new technique you'll notice in the
init
function is the shortcut that can be used on Ticker to update the
stage. This can be convenient when you only need to update the stage on the tick event.
createjs.Ticker.addEventListener("tick", stage);
The
drawSprites
function starts by creating the data for the sprite sheet object. Next, a series of sprites are
created, positioned, and added to the stage. This is done in the same way as any other display object. However, to set
the registration point on a
Sprite
,
getBounds
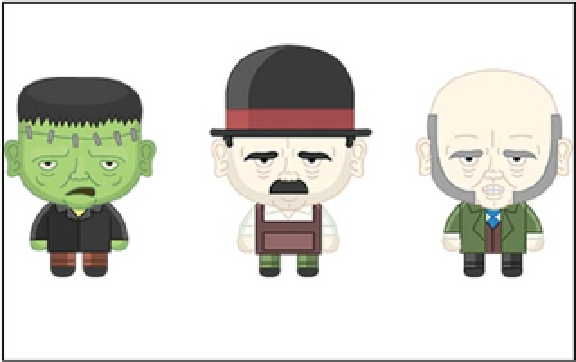
is the method used to receive its width and height. Figure
6-5
shows
these results.
Figure 6-5.
Graphics using the Sprite class

