Graphics Programs Reference
In-Depth Information
Note
To resize the slices, you need to make sure that they are unlocked. Choose
View > Lock Slices. (If a check mark appears to the left of the menu item,
they are locked.)
6.
Choose File > Save For Web.
7.
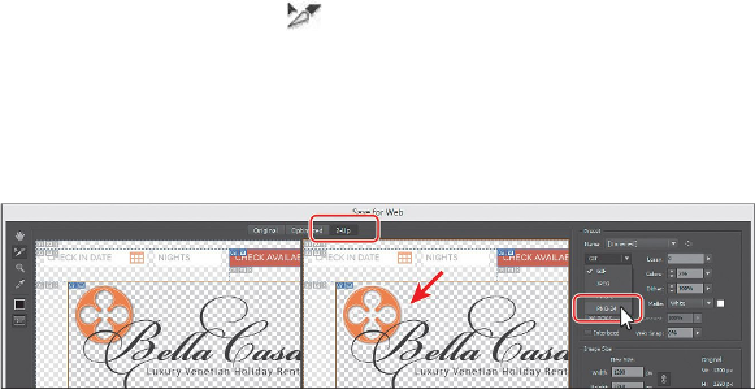
In the Save For Web dialog box, click the 2-Up tab at the top of the dialog box to
select that display option, if it's not already selected.
This shows a split window with the original artwork on the left and the optimized
artwork on the right (usually). You can tell which is the original artwork because it
shows “Original: 'WebDesign.ai'” along with a file size below one of the preview
areas. The optimized preview shows a file type like “GIF” and a file size below the
preview area.
8.
With the Slice Select tool ( ) selected (by default), click in the optimized area
on the right. Click to select the slice that covers the Bella Casa logo at the top of
the artboard, if it isn't selected already. A red arrow is pointing to it in the figure.
You can tell when a slice is selected because the artwork isn't dimmed and it has a
light-brown border around it.
9.
In the Preset area on the right side of the dialog box, choose PNG-24 from the Op-
timized File Format menu (below Name).
You can choose from four file formats, including GIF, JPEG, PNG-8, and PNG-24,
as well as set the options for each in the Preset area. The available options change
depending on the file format you select. If your image contains multiple slices that
you are going to save, be sure to select each separately in the preview area and op-
timize all the slices.
10.
Choose Selected Slices from the Export menu, if necessary.