Graphics Programs Reference
In-Depth Information
Note
To learn more about creating layers, see the section “
Creating layers
” in
Note
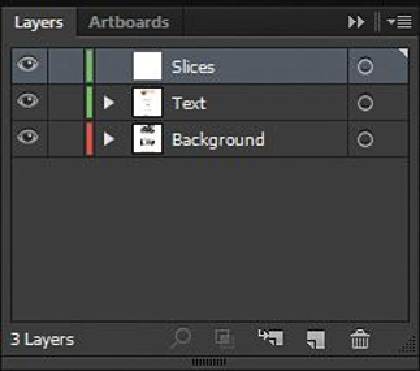
The new layer you create may have a different layer color, and that's okay.
When you create slices, they are treated as objects and are listed in the Layers pan-
el and can be selected, deleted, resized, and more. It helps to keep them on their
own layer so that you can more easily manage them, but this isn't necessary.
2.
Select the Zoom tool ( ), and drag a marquee around the Bella Casa logo in the
upper-left corner of the artboard. The “Bella Casa” text in the logo has been con-
verted to outlines (paths).
3.
Select the Slice tool ( ) in the Tools panel. Click and drag a slice around the
circle, “Bella Casa” text shapes, and the “Luxury Venetian Holiday Rental” text,
stopping the bottom of the slice below the bottom curve of the “e” in “Bella.” See
the figure for help. Don't worry about it fitting perfectly right now; you will edit it
later.