Hardware Reference
In-Depth Information
for this conversion with a simple web search. I've chosen to round the result to
a whole number.
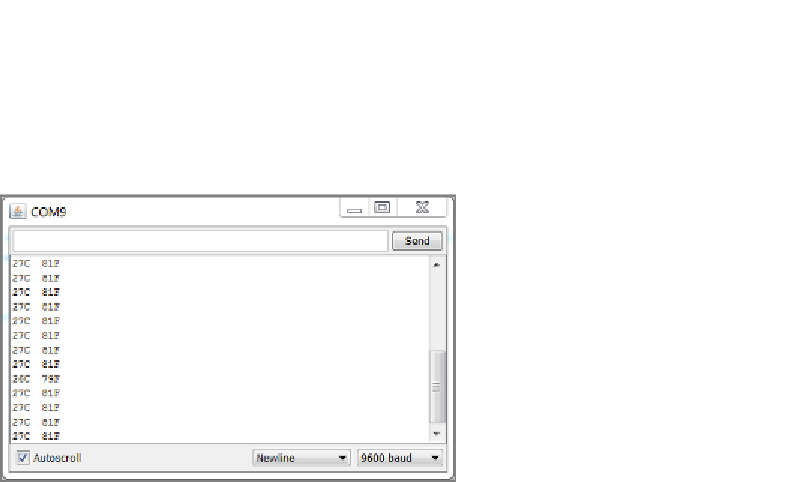
Now, run the preceding code on your Arduino and open up the serial moni-
tor on your computer. You should see an output that looks something like that
shown in Figure 8-7.
Figure 8-7:
I
2
C temperature sensor serial output
CombiningShiftRegisters,SerialCommunication,
andI
2
CCommunications
Now that you have a simple I
2
C communication scheme set up with serial
printing, you can apply some of your knowledge from previous chapters to
do something more interesting. You use the shift register graph circuit from
Chapter 7, “Shift Registers,” along with a Processing desktop sketch to visualize
temperature in the real world and on your computer screen.
BuildingtheHardwareforaTemperatureMonitoring
System
First things first, get the system wired up. You're essentially just combining the
shift register circuit from the previous chapter with the I
2
C circuit from this
chapter. Your setup should look like Figure 8-8.
Search WWH ::

Custom Search