Graphics Programs Reference
In-Depth Information
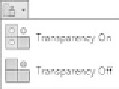
The button below that controls whether inactive parts of an assembly dim or
change appearance when you activate a part in the assembly to edit it. It isn't
available to Inventor LT users.
With Transparency On set (the default), only the component being edited in
the context of an assembly is a solid color. All the other parts change in some
way. I highly recommend working in this mode because it helps you keep track of
whether you're in the assembly or editing a part in the assembly. Transparency
Off keeps components in their normal appearance even though you're in effect
editing only one component.
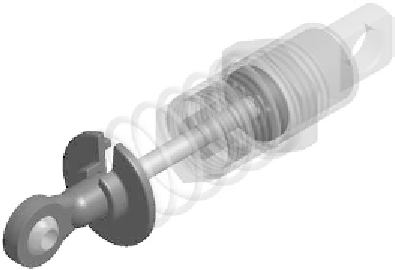
To demonstrate this, hover over the gray part (Shock Strut) on the left of
the assembly, and notice that it highlights. When it has become highlighted,
double-click it quickly. After it has been made “active,” your display should look
something like Figure 1.20.
FIGURE 1.20
Editing a component in the assembly with transparency on
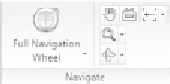
Navigate Panel
The Navigate panel contains tools for altering your view of the model or draw-
ing. Most of these tools are also presented in a more heads-up fashion directly in
the Design window next to your model. We'll cover the tools in the context of
this panel, but I suspect you'll use them like I do: either through the window
toolbar or using the mouse and keyboard shortcuts that accompany them.
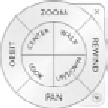
The Navigation Wheels (plural because there are a few different versions) allow
heads-up access to the Zoom, Orbit, and Pan tools as well as several other fea-
tures. Navigation Wheels can be found not only in Inventor but in other Autodesk
products as well, such as AutoCAD. Because of this, some of the tools aren't spe-
cifi cally built for Inventor. Walk, Look, and Up/Down may be useful for showing
someone how to navigate through a large assembly, but I suspect that other tools
will be more useful to you.


Search WWH ::

Custom Search