Graphics Programs Reference
In-Depth Information
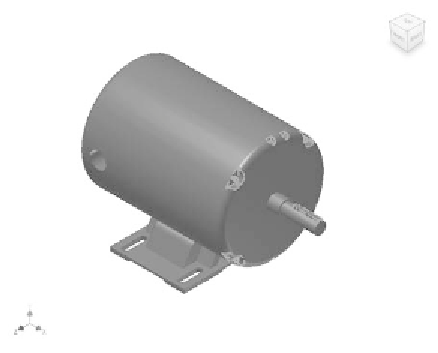
As you've probably noticed and can see in Figure 6.42, you have a bit of an
interference issue between the motor and the duct. In the next chapter you'll
calculate the proper location of the motor; then, you can modify the duct to
accommodate it. For now, though, I want to simplify the motor to make it eas-
ier to reuse its geometry.
Advanced tools in Inventor let you take entire assemblies and replace them
with a single part or fi nd just the exterior features and create a shrinkwrap
model that removes the interior detail for enhanced performance. In this case,
the changes you need are very simple and best done on the model itself.
Modifying Supplier Content
In the following steps, you'll simplify the motor without limiting its value or
compromising its accuracy:
1.
In the Browser or the Design window, right-click the newly placed
motor, and choose Open to bring it up in its own window.
2.
Pass your cursor over the features in the Browser to get a sense of
how the part was built.
3.
Pick Extrusion 1 in the Browser. This highlights what appears to be a
shaft key.
4.
Hold the Shift key, and select Extrusion 6. This highlights all the fea-
tures between Extrusion 1 and Extrusion 6, as shown in Figure 6.44.
FIGURE 6.44
Selecting multiple features in the Browser


Search WWH ::

Custom Search