Graphics Programs Reference
In-Depth Information
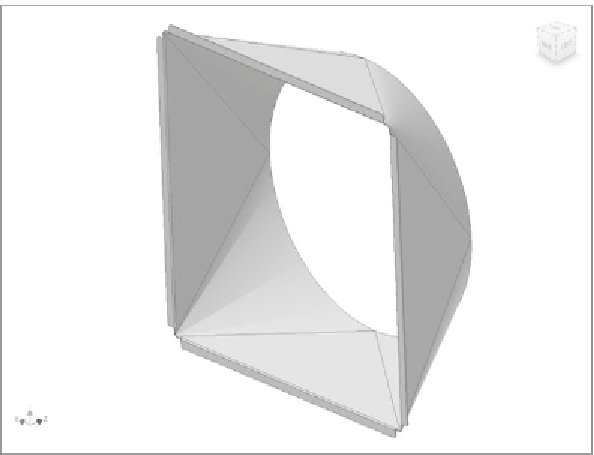
For your design, you need four of these fl anges. You could draw them indi-
vidually, or you can replicate them as you did in Chapter 2 . In Chapter 2, you
used the Mirror tool, and I said that it's very similar to the Pattern tools. Let's
see if I was right:
1.
Click the Circular (pattern) tool in the Pattern panel.
2.
Instead of picking the features you want from the screen, pick Face1
and Corner Round1 in the Browser.
3.
Click the arrow button next to Rotation Axis, and pick the Z axis in
the Browser.
4.
A preview appears, showing a total of six faces. Change the value
under the word
Placement
in the dialog to
4
, and click OK.
5.
Inspect the new faces, and make sure they all have rounded corners
and bend reliefs. Then, save your work. See Figure 3.14.
At this point, you still aren't prepared to create a fl at pattern of your part. In
order to do so, you need to create a gap in the part. This is where the Rip tool
comes in.
FIGURE 3.14
Patterns can dramatically speed up the creation process.


Search WWH ::

Custom Search