Information Technology Reference
In-Depth Information
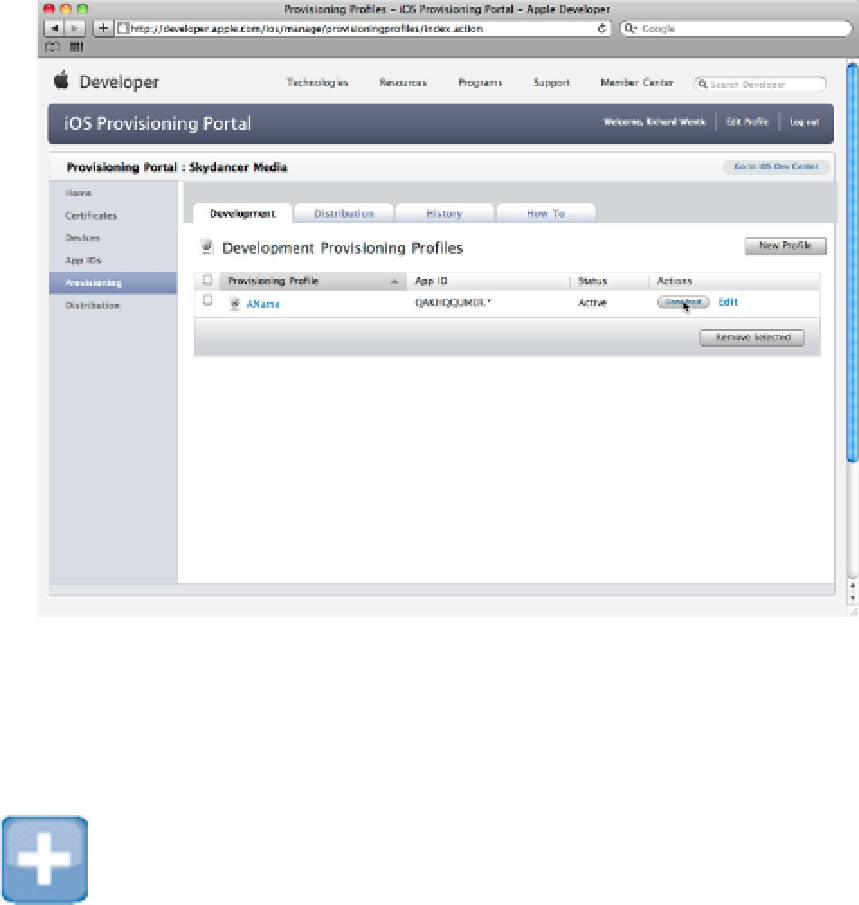
Installing the profile in Xcode
To install the profile in Xcode, navigate to it in Finder, open the Devices page in the Organizer, and drag the
profile to the Provisioning Profiles item in the list at the top left, as shown in Figure 11.20. The file has the first
name you gave it and the
.mobileprovision
extension.
TIP
You also can install a profile by dropping it onto the Xcode or iTunes icons in the dock.
Creating and running a device build
You can now create a new project in Xcode or load an existing one, and select the target device from the menu
at the top left of the main Xcode toolbar. Click the Build button at the left of the toolbar.
The first time you create a test build, Xcode asks you to allow access to your keychain. Select the Always Allow
option, and wait. Initially, the build is copied to device flash memory. From there, it's launched automatically
and loaded into RAM, just like a standard app launch. This can take a minute or so. Eventually, the app runs.
Subsequent builds launch more quickly.
FIGURE 11.20
Installing the profile in Xcode