HTML and CSS Reference
In-Depth Information
Click the
See some web demos
link, and open the WebSocket example. The default URL for
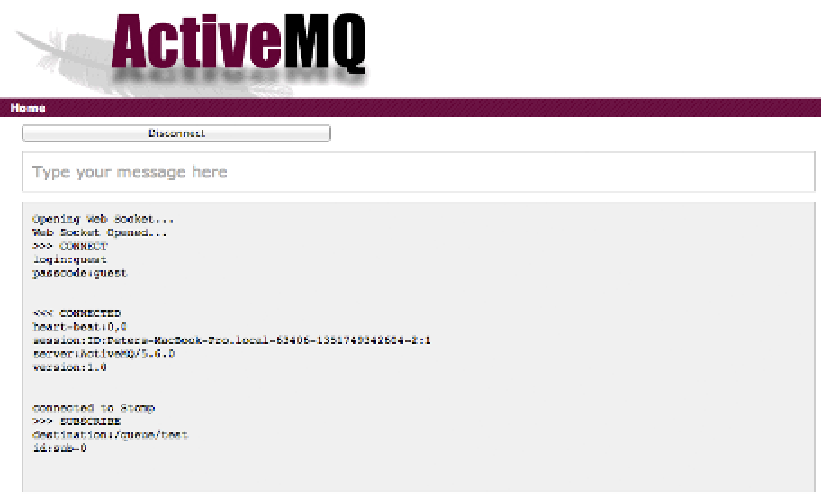
Modify the host name in the Server URL field from
localhost
to
0.0.0.0
, and click
Connect. As Figure
7-4
indicates, you should now be connected.
Figure 7-4.
Apache ActiveMQ configured with no authentication
Since ActiveMQ isn't configured to perform authentication, any credentials you
enter are simply ignored. You can confirm this behavior by changing the Login and
Password fields to arbitrary values, then clicking Connect again. You should still be able
to connect. Now, let's add authentication to our application.
Application Authentication
When configured, authentication blocks users from accessing ActiveMQ, unless they
provide the right credentials. Let's review how to configure authentication and how you
can define the credentials for your users.
Listing 7-3 shows a sample configuration snippet that you can add to the
configuration we used in Chapter 5. When you add this to the
conf/activemq.xml
file in
the Apache ActiveMQ installation directory, you restrict user access to the system and
ActiveMQ challenges the user with a username and a password.