Hardware Reference
In-Depth Information
Table 8-1.
Bill of materials for home server
Component
Product
Backup hardware
(See text)
Optical drive
(None; see text)
Keyboard
(None; see text)
Mouse
(None; see text)
Speakers
(None; see text)
Display
(None; see text)
UPS
Falcon Electric SG or SSG Series On-Line UPS
Building the Home Server
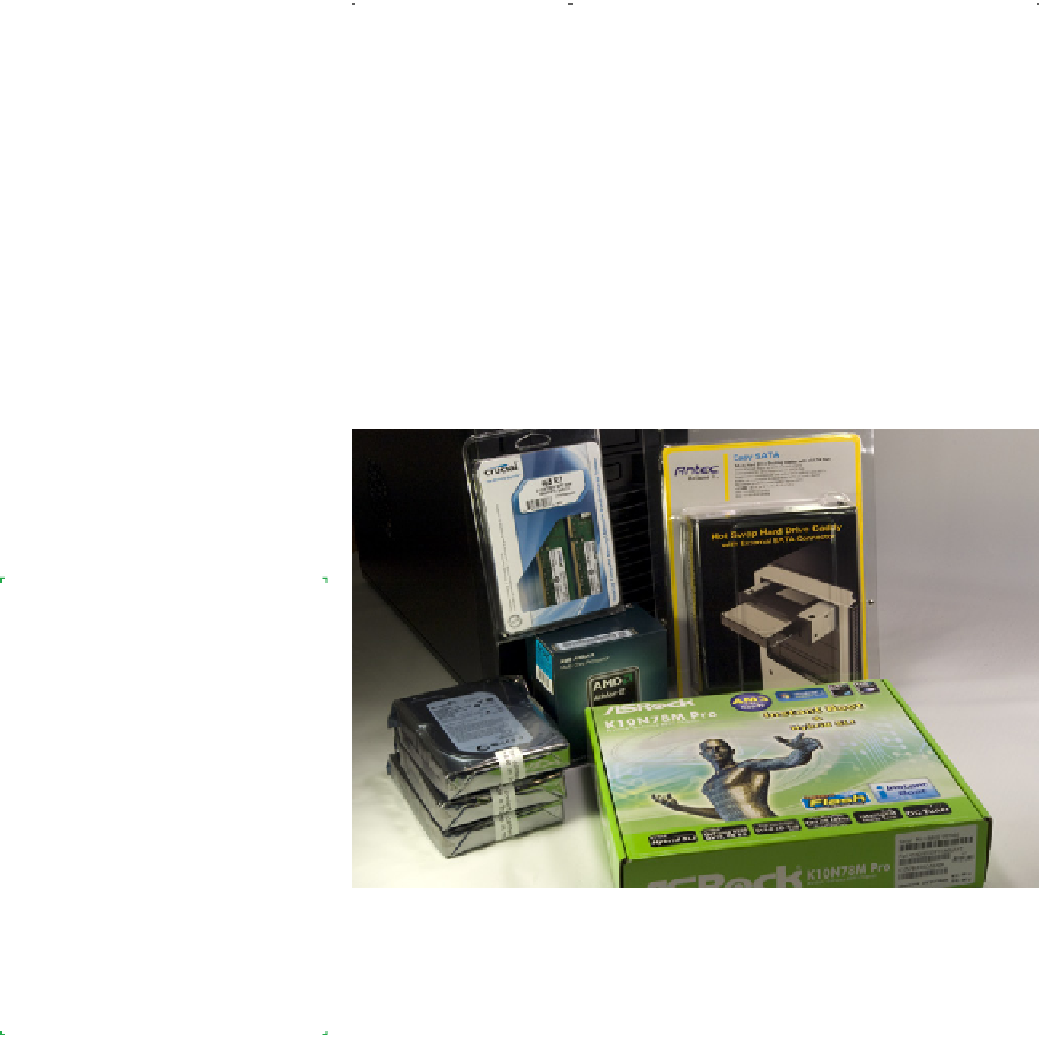
Figure 8-1 shows the major components of the home server. Well, except for
the Falcon Electric UPS—it weighs a ton, and we didn't feel like hauling it from
Robert's office into the kitchen and lifting it up onto the table.
The AMD Athlon II X2 240 Regor processor is visible at left center, with a Crucial
4 GB memory kit sitting atop it, leaning against the Antec Atlas 550 case. To the
right is the Antec Easy SATA drive caddy, with the ASRock K10N78M Pro mother-
board front and center. The three Seagate Barracuda XT 2 TB hard drives are
visible at the lower left. That's everything we need to build our server, other
than the optical drive, display, keyboard, and mouse that we'll connect just
long enough to get the software installed and configured.
He Got Up, Got Dressed, and Took
a Shower
As always, you needn't follow the
exact sequence of steps we describe
when you build your own home
server. Always install the processor
and memory before you install the
motherboard in the case, because
doing otherwise risks damaging the
processor, memory, or motherboard.
The exact sequence doesn't matter
for most other steps, though. Some
steps must be taken in the order we
describe, because completing one
step is required for completing the
next, but as you build your system
it will be obvious when sequence
matters.
Figure 8-1.
Home server components, awaiting construction
Make sure you have everything you need before you start building the system.
Open each box and verify the contents against the packing list.