Hardware Reference
In-Depth Information
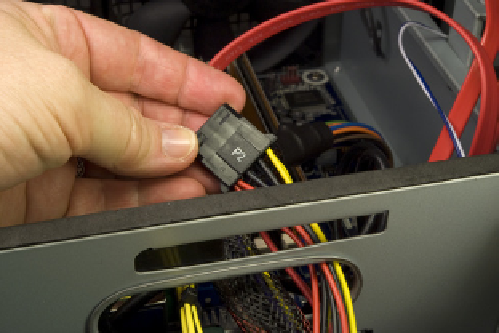
Figure 6-39.
Routing the P2 cable into the motherboard chamber
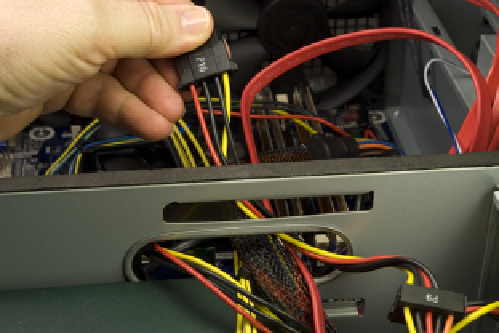
Figure 6-40.
Routing the P10 cable into the motherboard chamber
Figure 6-41.
Slide the bulkhead access door closed
InstallingtheHardDrive(s)
The next step is to install the hard drive(s), a task that's considerably more in-
volved with the NSK-2480 than it is with most cases. The NSK-2480 mounts
one or two hard drives vertically in a separate chamber at the front of the case.
In most cases, you can install hard drives and connect the power and data
cables without much regard for sequence. In the NSK-2480, the sequence is
important because access to the drive connectors is restricted after you've in-
serted them in the cage. To begin, remove the four screws that secure the top
plate of the hard drive chamber, as shown in Figure 6-42, and then remove the
top plate, as shown in Figure 6-43, and set it aside.