Hardware Reference
In-Depth Information
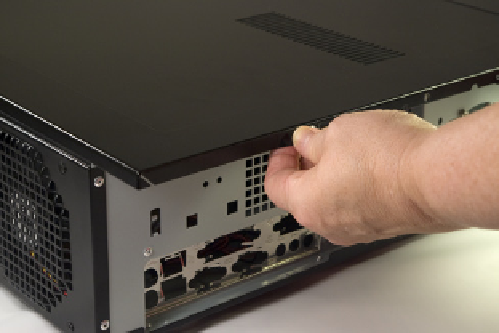
Figure 6-2.
Remove the thumbscrew that secures the top panel
Figure 6-3.
Slide the top panel to the rear and lift it off
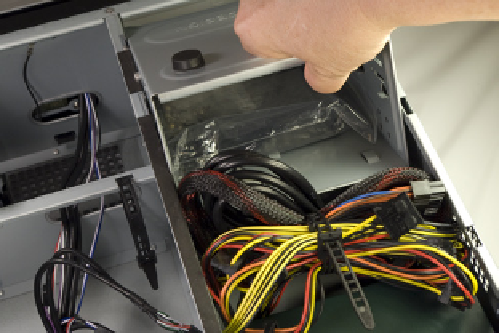
Remove the optical drive bay by sliding it toward the rear of the case, pivoting
it upward, and then lifting it free of the chassis, as shown in Figure 6-4.
With the optical drive bay removed, you have access to the bundle of cables
from the power supply. Remove the AC power cord and set it aside. Remove
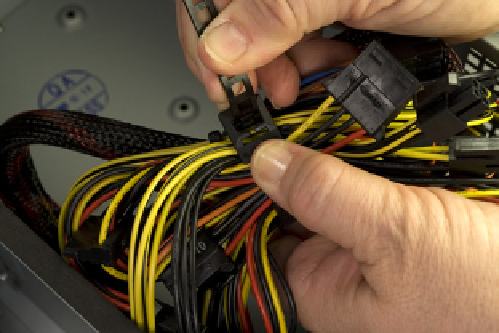
the cable wraps that bundle the power supply cables, as shown in Figure 6-5,
and straighten out the various cables.
Figure 6-4.
Remove the optical drive bay
Figure 6-5.
Remove the cable tie that secures the bundle of cables
from the power supply
Like most cases, the Antec NSK-2480 comes with a generic rear-panel I/O
shield. Generic I/O shields don't fit any motherboard we've ever used, so we're
not sure why case makers bother to include them. Removing the generic I/O
shield simply adds one more task.
To remove the generic I/O shield, press gently inward on it with a screwdriver
handle, as shown in Figure 6-6. Don't worry about bending the I/O shield, be-
cause you'll discard it anyway. Do take care not to bend the cutout area of the
case, which would make it very difficult to install the proper I/O shield. Sup-
port the edge of the cutout area with your fingers, and press on the generic
I/O shield until it snaps out.