Hardware Reference
In-Depth Information
To install the Antec Easy SATA hard drive docking station, follow the same pro-
cedure described in the section about mounting the optical drive to remove
the plastic bezel and steel RF shielding plate from one of the lower 5.25” drive
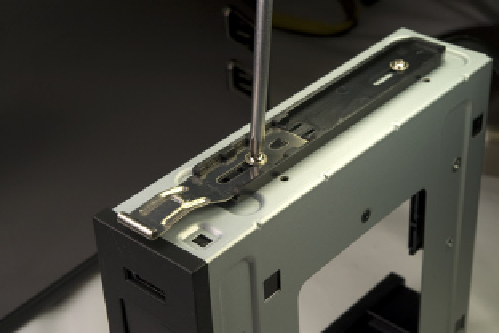
bays. Attach drive rails to each side of the Easy SATA frame, as shown in Figure
4-48. Both rails should be positioned as shown, using the upper set of screw
holes in the Easy SATA frame and with the front edge of the spring clips flush
with the front bezel.
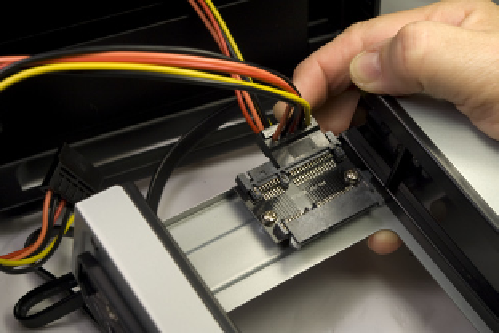
Locate one of the SATA power cables from the power supply cable bundle, and
feed it through the lower 5.25” external drive bay and out the front of the case.
Match the L-shaped keys on the power cable connector and the Easy SATA
power connector, and press the power cable connector onto the Easy SATA
power connector, as shown in Figure 4-49.
Figure 4-48.
Attach drive rails to both sides of the Antec Easy
SATA hard drive docking station
Figure 4-49.
Connect power to the Easy SATA unit
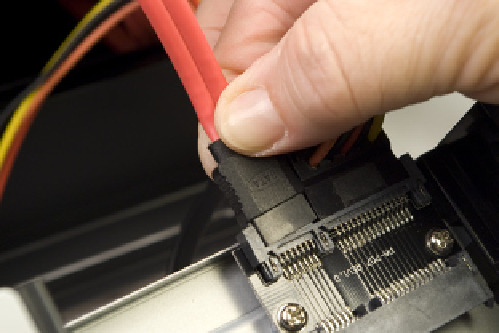
Feed a standard SATA data cable through the lower drive bay and connect it to
the data connector on the Easy SATA unit, as shown in Figure 4-50.
Make sure the SATA power cable and both SATA data cables will feed through
the drive bay opening and into the lower interior chamber, and then slide the
Antec Easy SATA unit into the drive bay, as shown in Figure 4-51.
Figure 4-50.
Connect a standard SATA data cable to the Easy
SATA data connector
Figure 4-51.
Slide the Easy SATA unit into the drive bay