Hardware Reference
In-Depth Information
After you install the I/O shield, carefully slide the motherboard into place,
making sure that the back panel connectors on the motherboard are firmly
in contact with the corresponding holes on the I/O shield. Compare the posi-
tions of the motherboard mounting holes with the standoff mounting posi-
tions in the case. One easy method is to place the motherboard in position and
insert a felt-tip pen through each motherboard mounting hole to mark the
corresponding standoff position beneath it. Alternatively, you can simply look
down through the motherboard mounting holes to determine which chassis
positions need to have standoffs installed and then mark those positions with
a felt-tip pen, as shown in Figure 3-15.
Seeing the Light
If you simply look at the mother-
board, it's easy to miss one of the
mounting holes in all the clutter. We
generally hold the motherboard up
to a light, which makes the mounting
holes stand out distinctly.
Figure 3-14.
Install the I/O shield supplied with the motherboard
Figure 3-15.
Locate and mark the proper positions for standoffs to
be installed
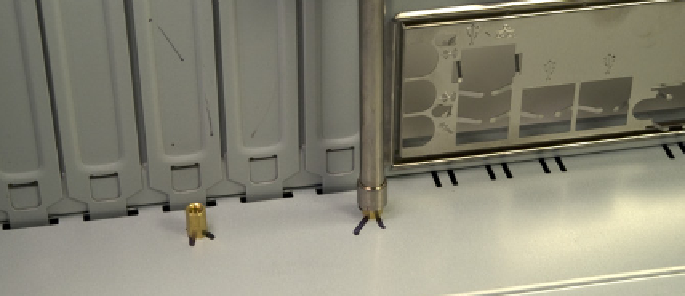
The ASRock K10N78M-PRO motherboard has six mounting holes. Some cases
are shipped with several standoffs already installed, but the Antec NSK-4482
has no standoffs preinstalled. So, we need to install standoffs in all six of the
positions required by the motherboard.
Avoid Grounding Problems
If your case comes with preinstalled
brass standoffs, make absolutely
certain that each standoff matches
a motherboard mounting hole. If
you find one that doesn't, remove it.
Leaving an “extra” standoff in place
may cause a short circuit that may
damage the motherboard and/or
other components, or at least cause a
boot failure.
Also, if you use a case that uses
stamped raised areas in the mother-
board tray instead of standoffs, be
aware that some motherboards may
fail to boot in such cases because
the raised areas ground parts of the
motherboard that were not intended
to be grounded.
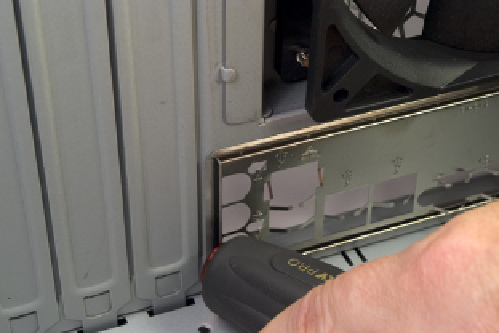
Install brass standoffs for each motherboard mounting hole. Although you
can screw in the standoffs using your fingers or needlenose pliers, it's much
easier and faster to use a 5 mm nut driver, as shown in Figure 3-16. Tighten
the standoffs finger-tight, but do not overtighten them. It's easy to strip the
threads by applying too much torque with a nut driver.
Figure 3-16.
Install a brass standoff at each marked position