Graphics Programs Reference
In-Depth Information
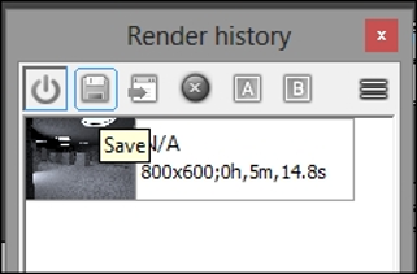
2. In the
Render History
window, click on the
Save
icon to write a temporary
V-Ray image file to your hard drive.
Note
If you want to change the default location where these images are saved,
click on the
Settings
icon found on the far-right corner of the
Render His-
tory
window. In the history settings dialogue box, set a new file path.
3. Next click on the
POV - Empty Room Scene
tab and then hit the render
button found on the far-right corner of the V-Ray frame buffer's top toolbar.
Again, once that is finished, we can run through the process of saving it by
means of the
V-Ray Render history
window.
Next, we need to turn on our GI systems. So, let's perform the following steps:
1. Open up the V-Ray options editor from the V-Ray toolbar.
2. In the
Indirect Illumination
rollout, put a check in the
On
box.
3. Once again, hit the render button, and when done, save it using
Render his-
tory
.
4. Repeat the render and save process for the
POV - Main Gallery
view as
well, if required.
For the final test render, we need to enable our key light. We can do this by perform-
ing the following steps:

Search WWH ::

Custom Search