Graphics Programs Reference
In-Depth Information
2. I would also suggest that you dock these at the top of the SketchUp user in-
terface as I have. This will keep us on the same wavelength when I talk about
going up to the V-Ray toolbars throughout the rest of this topic!
To initiate a render in V-Ray, all that we need to do is hit the big
R
(for render) button
on the main toolbar and V-Ray will begin to process the scene for us.
Note
If this takes a while, don't be alarmed. Depending on the complexity of your
scene and the power available in your computer, this process can take anything
from a few seconds to a few hours before our scene begins to render.
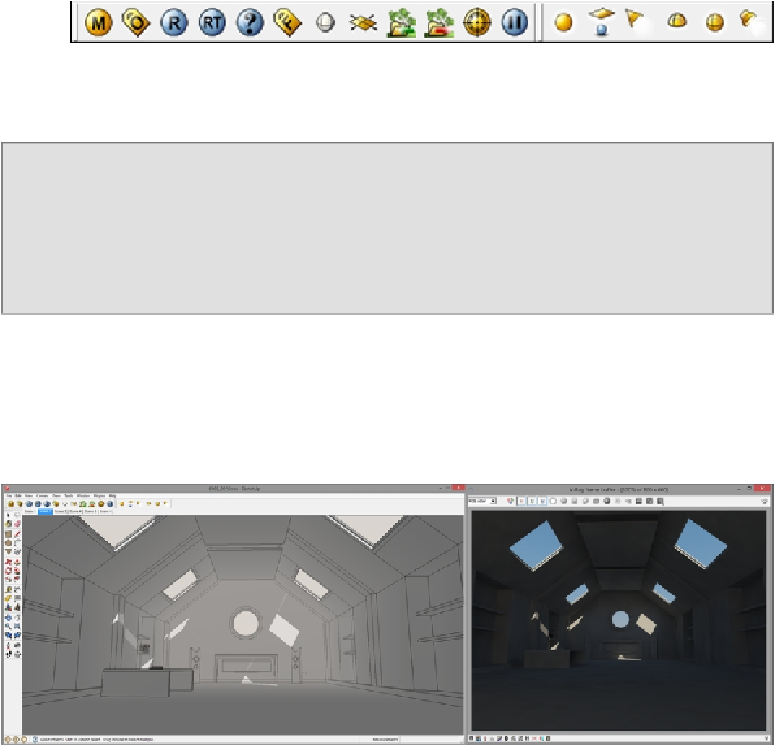
Once the render is complete, as you can see in the following screenshot, the framing
we have in the V-Ray frame buffer window does not match that seen in the SketchUp
viewport at all. This is because my SketchUp interface is currently set 1600 x 900
(currently giving us a viewport aspect ratio of 2.01:1), whereas V-Ray by default is
rendering at 800 x 600 (which is a 1.333:1 ratio).
This obviously requires a bit of correction. To do that, we need to open up our V-Ray
option editor by clicking on the
O
(for Option) button on the toolbar. Don't be intimid-
ated by the sight of all the rollouts and parameters that confront us; we will become
quite comfortable with these as we move through the various chapters in this topic.
Search WWH ::

Custom Search