Graphics Programs Reference
In-Depth Information
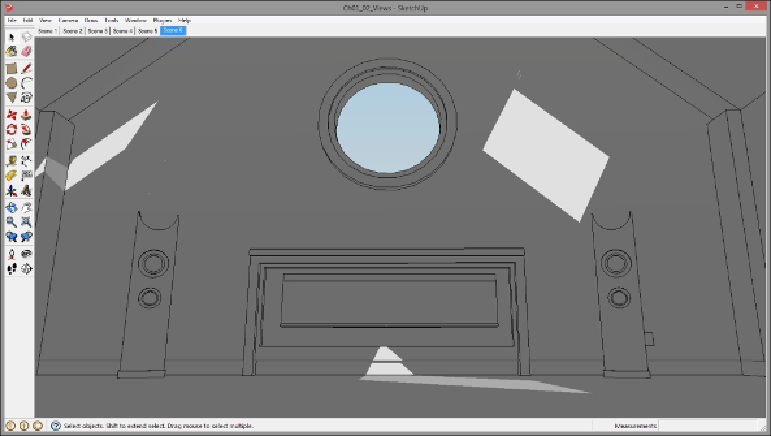
Our sixth and final scene,
Scene 6
, is something I enjoy referring to as the cathedral
shot. An extremely low POV causes everything in the scene to take on a presence
that can make the viewer feel somewhat small and insignificant. By placing
everything symmetrically in the view, we make use of framing to create a sense of
balance that itself seems to add to the grandness of our view.
Matching viewport and render aspect ratios
One final thing that we need to do before we leave composition behind is to make
certain that our actual V-Ray renders match more closely with what we are currently
seeing in the SketchUp viewport. It would be a shame to have worked hard to create
a good composition in our camera view only to find that our render doesn't frame up
in the same way. In fact, to show that currently our viewport and the V-Ray frame
buffer renders are out of sync, let's take our first render.
If you don't already have the V-Ray toolbars present in the interface, now would be
a good time to bring those up. To do that, let's perform the given steps:
1. On the main menu, navigate to
View
|
Toolbars…
and select the
VfS: Main
Toolbar
and
VfS: Lights
options from the flyout menu.
Search WWH ::

Custom Search