Graphics Programs Reference
In-Depth Information
Note
Just be aware that in the
Night_Time_Interior_03.skp
version of this
scene, all of the lights are unique objects rather than components, and so will
require individual rather than collective editing.
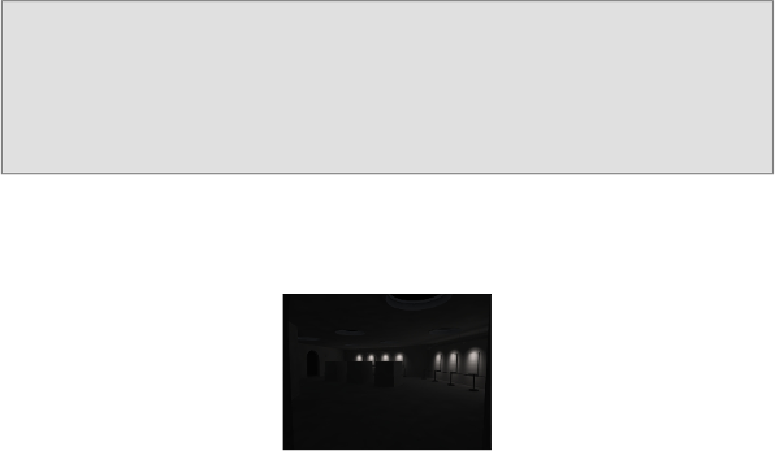
Once the lights are replicated, this would seem as good a point as any to take a test
render and see how things are looking. To do this, let's go up to the V-Ray toolbar
and hit the render button. Take a look at the following screenshot:
Our final task for this group of IES lights is to make sure that we have them all as-
signed to the correct layer. Doing that is very easy in SketchUp; all we need to do is
perform some simple steps shown as follows:
1. Select all of the IES light objects by holding down the
Ctrl
key and clicking on
each of them in turn (be sure to get all eight).
2. Right-click on the selection, and select
Entity Info
from the list.
3. In the
Layer
drop-down list, select the
Down Lights
layer we created earlier.
4. Close the Info box by clicking on the X (exit option) in the top right-hand
corner.
All of our exhibit's down lights are now nicely organized on their own layer, which we
can go ahead and hide while we work at setting up our second set of IES lights. To
do this, perform the following steps:
1. From the
Window
menu, select the
Layers
option.
2. Remove the check from the
Down Light
layers visible column to hide it.
(Keep in mind that the
Scene
tab will need updating if we want these lights
to remain hidden; otherwise, we will need to hide them again each time we
switch back to this view).
Search WWH ::

Custom Search