Graphics Programs Reference
In-Depth Information
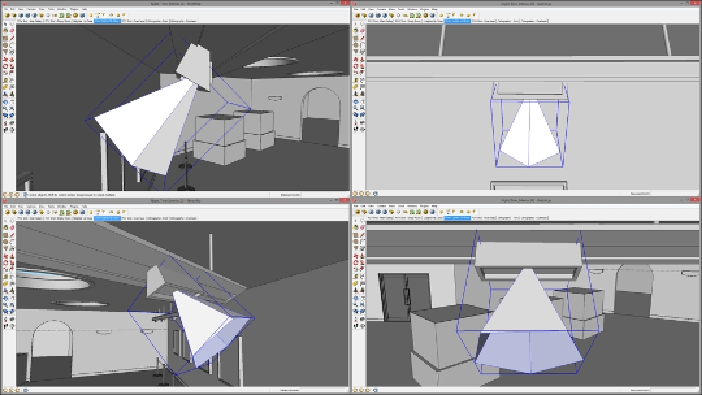
1. Click on the
IES
button on the toolbar to engage the create mode.
2. Click on a point on the fixture geometry to create an IES light at that point in
3D space.
3. Next, select SketchUp's
Scale
tool, and scale the light to 50 percent of its
initial size.
4. Finally, move it into position using SketchUp's
Move and Rotate
tools as re-
quired (match the lights position to the screenshot images as closely as pos-
sible):
With our first IES light in place, it is (generally speaking) a good practice to perform
as much setup on the lights' properties as we reasonably can at this point before
copying it to create the full complement of exhibit lights that we require.
As the light's scaling has already been taken care of, what we need to do now is to
attach an IES profile to the light and then tweak whatever options we feel would be
appropriate.
As with HDRI files, the Web offers lots of freely available IES files, most of them,
as we have mentioned, come from light fixture manufacturers themselves. In this
instance though, the IES files I will be using in the scene come from
ht-
Search WWH ::

Custom Search